Small yards can be a challenge when it comes to finding space for outdoor activities. But with a little bit of creativity, you can find ways to maximize the use of your space. In this article, we’ll explore one option for doing just that, using IKEA’s Runnen Decking, along with a full and honest Ikea Runnen Decking Review!

Made from durable and weather-resistant materials, it can withstand harsh outdoor conditions and still maintain its appearance.
TL;DR: IKEA Runnen Decking transformed our rock-filled dead zone into a functional backyard play area for $1,500 vs. $15k for poured concrete. Two winters in Colorado and it’s held up, though it can’t match the quality of our Trex deck above. Worth it as a budget temporary fix; don’t expect a 30-year deck.
Made from durable and weather-resistant materials, it can withstand harsh outdoor conditions and still maintain its appearance.
Welcome to our (small) backyard
So we have the world’s smallest yard.
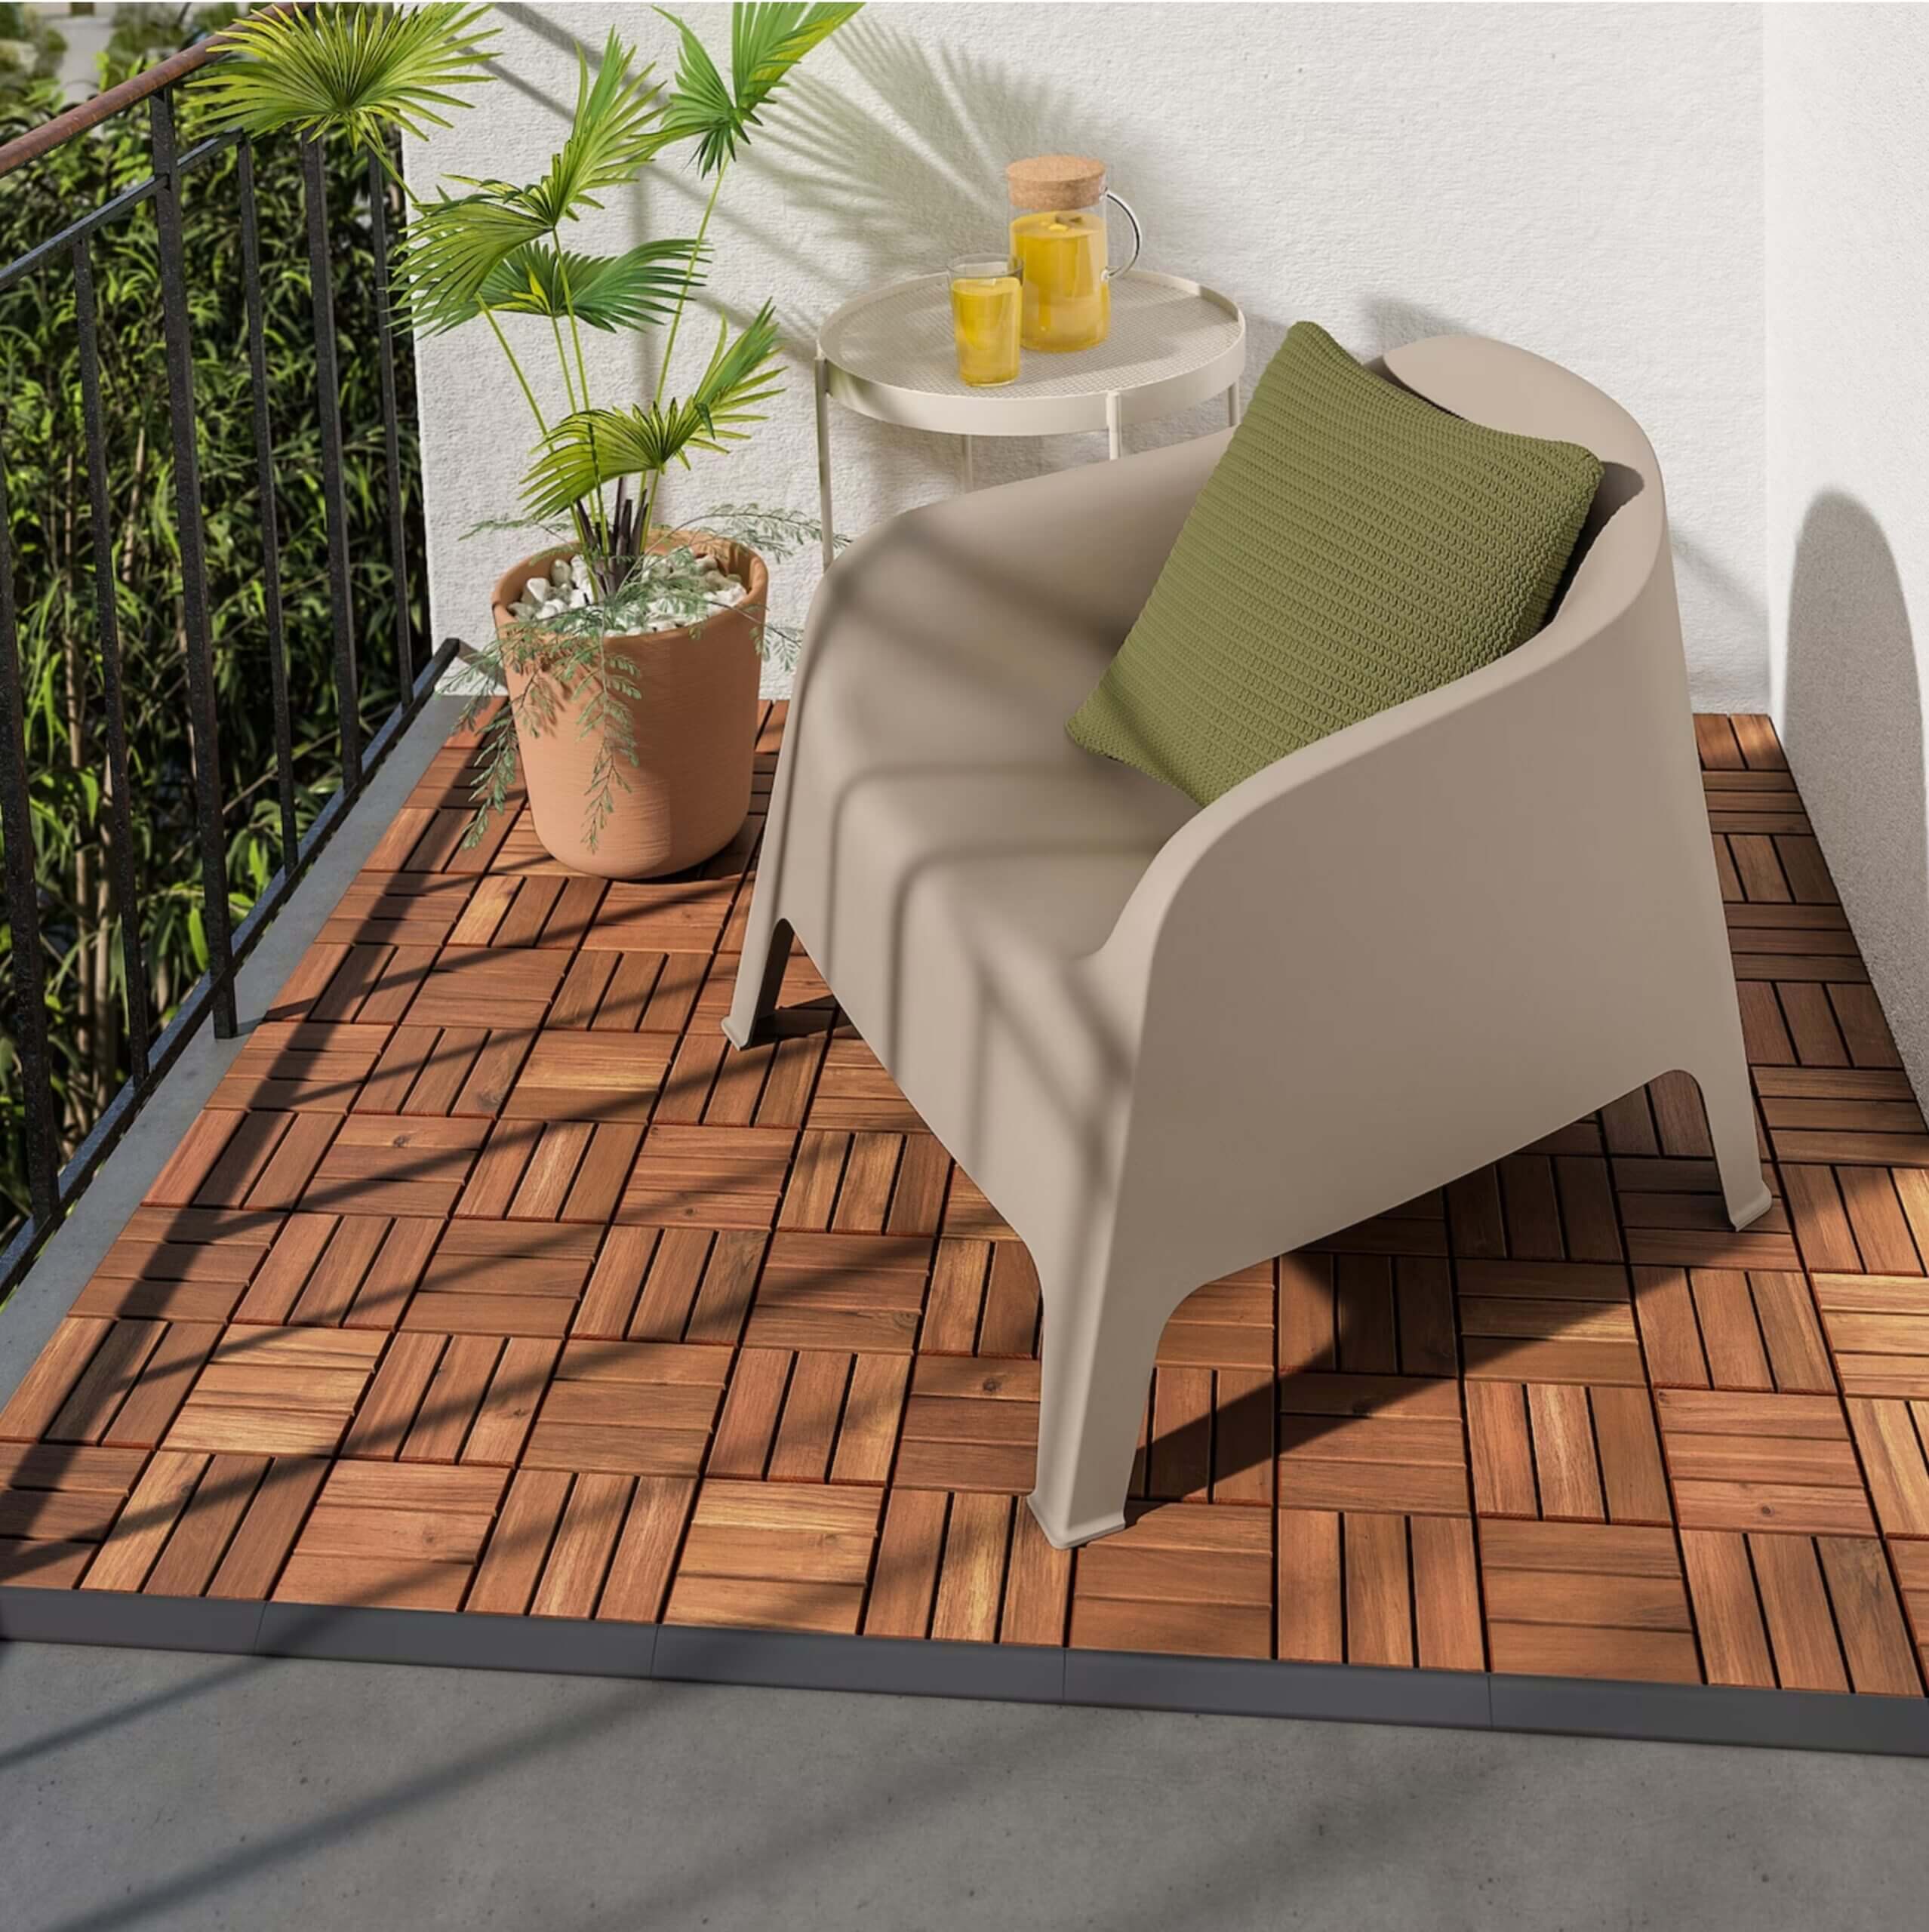
Once the deck is down, you need furniture for it. See our Outer furniture review for weatherproof pieces we actually tested outside.
Ok, maybe not the world’s smallest, but our neighborhood has tiny little postage stamp yards. This was the biggest factor in us almost not purchasing this house, but the other things won out… you know close to family, an artisan village within walking distance, a neighborhood pool, blah, blah, blah.
In real estate, you can’t have it all – well unless you are really wealthy which we are not-ha! Anyways, we knew when building this house that the yard was going to be small, so we needed to utilize it as wisely as possible.
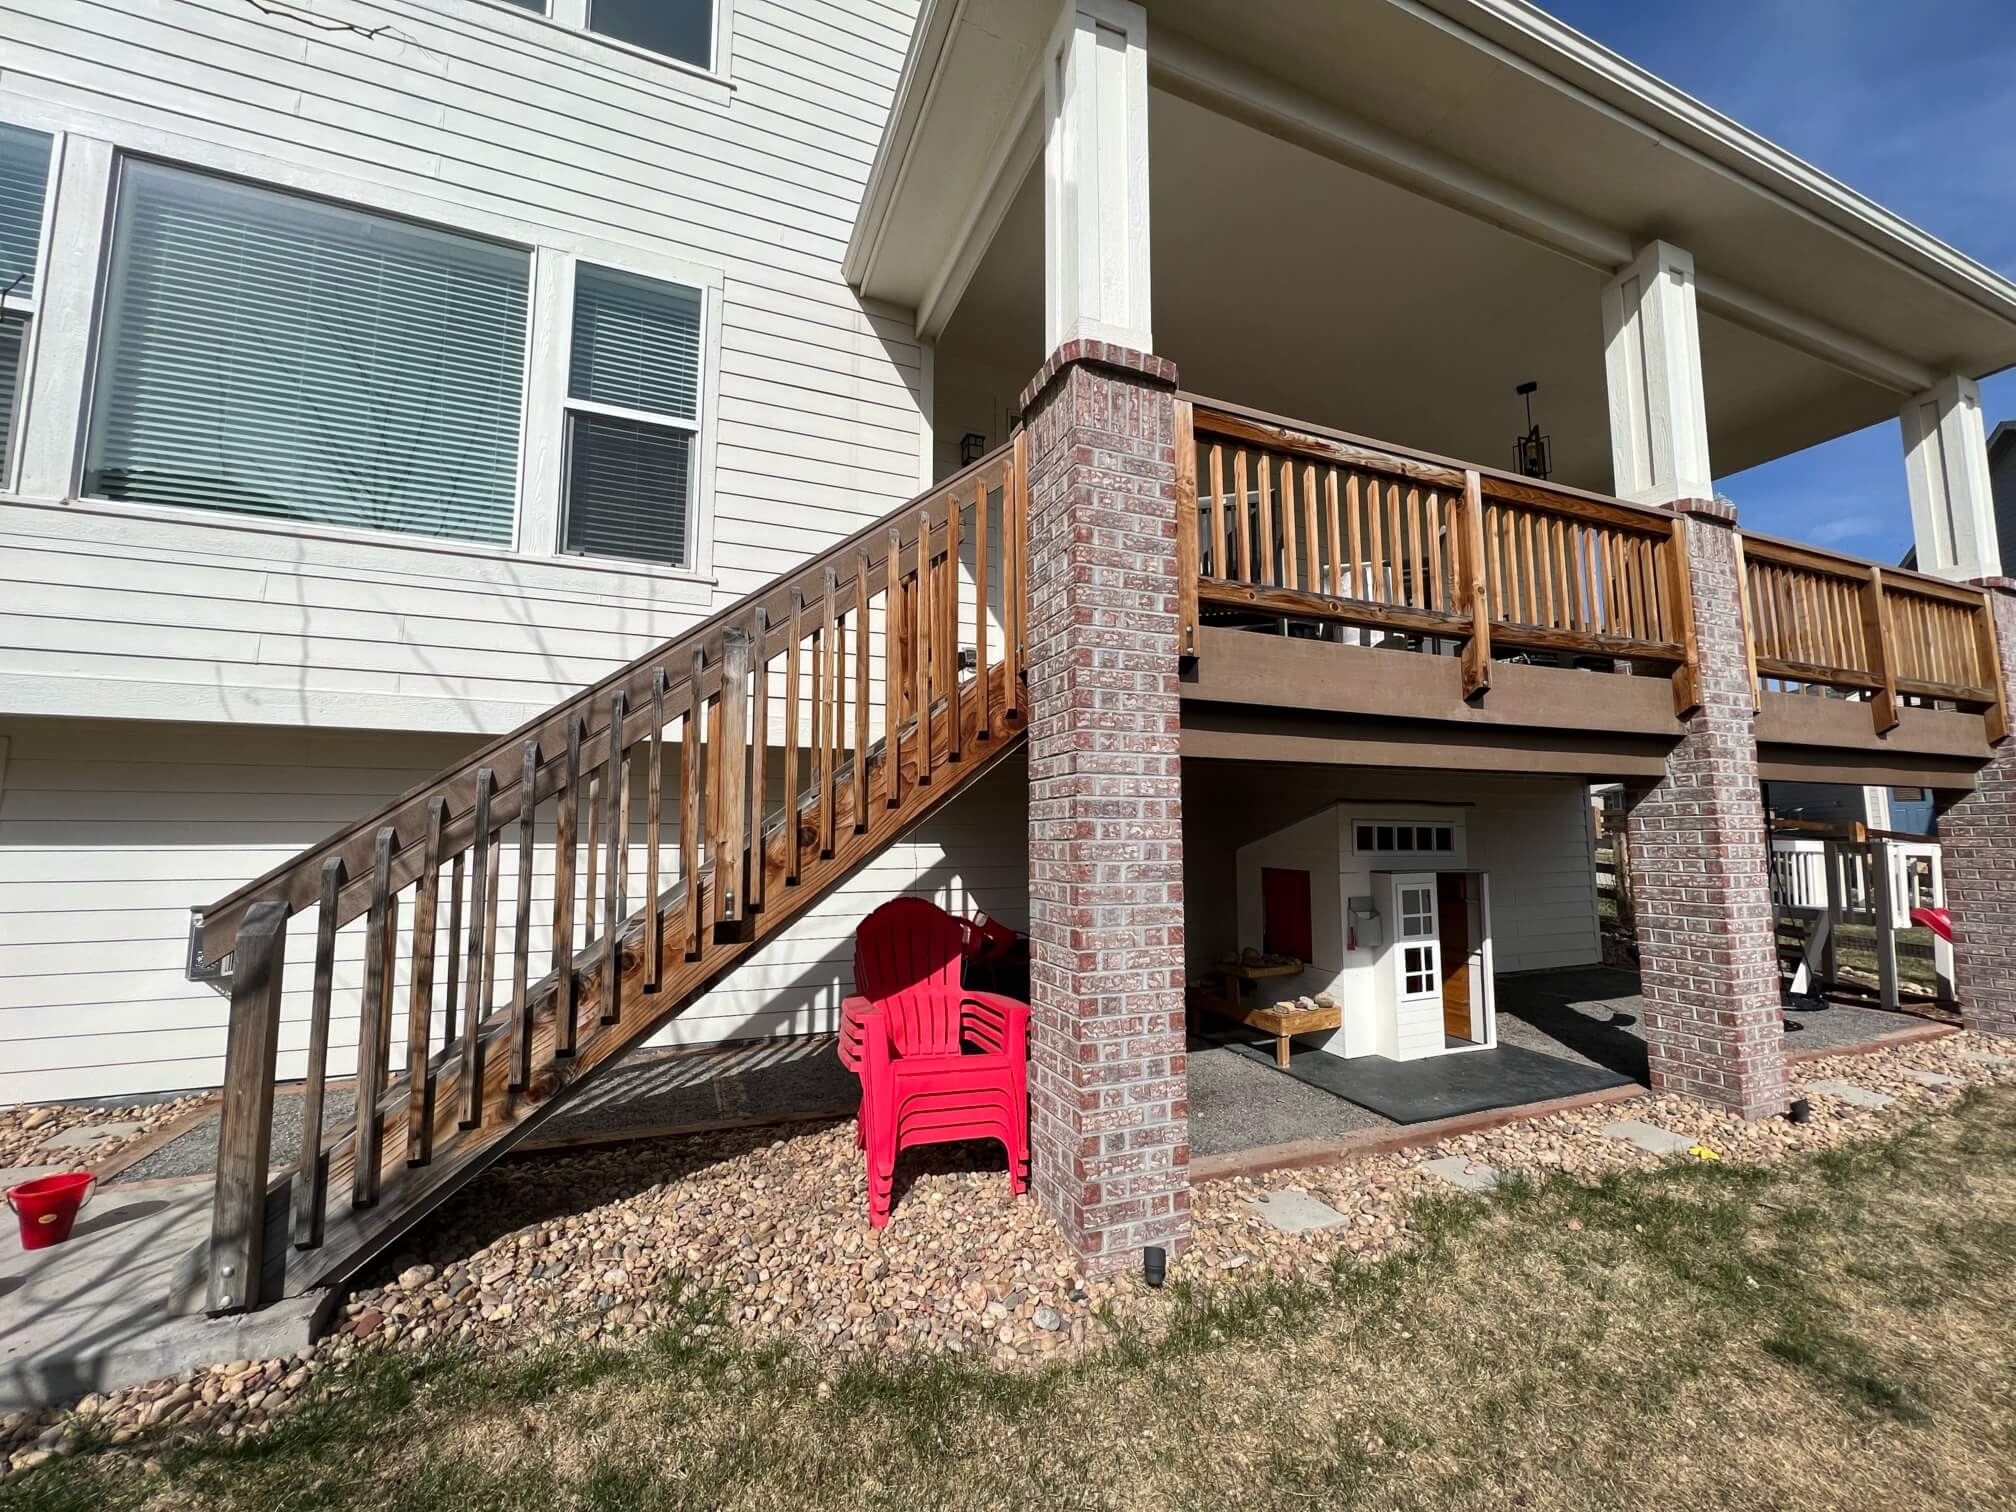
Thankfully our deck is about eight feet above the yard (and the tallest member of our family if 5”9″) so we were able to use the area underneath the 10’ x 25’ deck for more space for our kiddos.
When we moved in that space was full of rocks making it completely unusable. At first, we thought we could pour a second patio with concrete, but it turns out that was very expensive. So, here is our on-the-cheap solution to building a deck/patio and creating more useable play space for our kiddos and how we went from this to this.
Doesn’t the before picture just look so sad? Here are the 10 steps we used to transform the space under our deck. We found our favorite outside flooring.
Step 1: Remove Rocks
The first thing we did was move all of the rocks to the numerous other rock beds surrounding our house. Colorado is a desert so they really go heavy on the xeriscaping, which is great for the environment but not always play friendly for kids.
Step 2: Put down railroad ties
We dug down in the dirt and put in railroad ties. In order to make them stay put we used large metal stakes that we drilled through them and corner brackets to help them keep their square shape over the years. We were also assisted by the brick columns that hold up the top deck in keeping the area square.
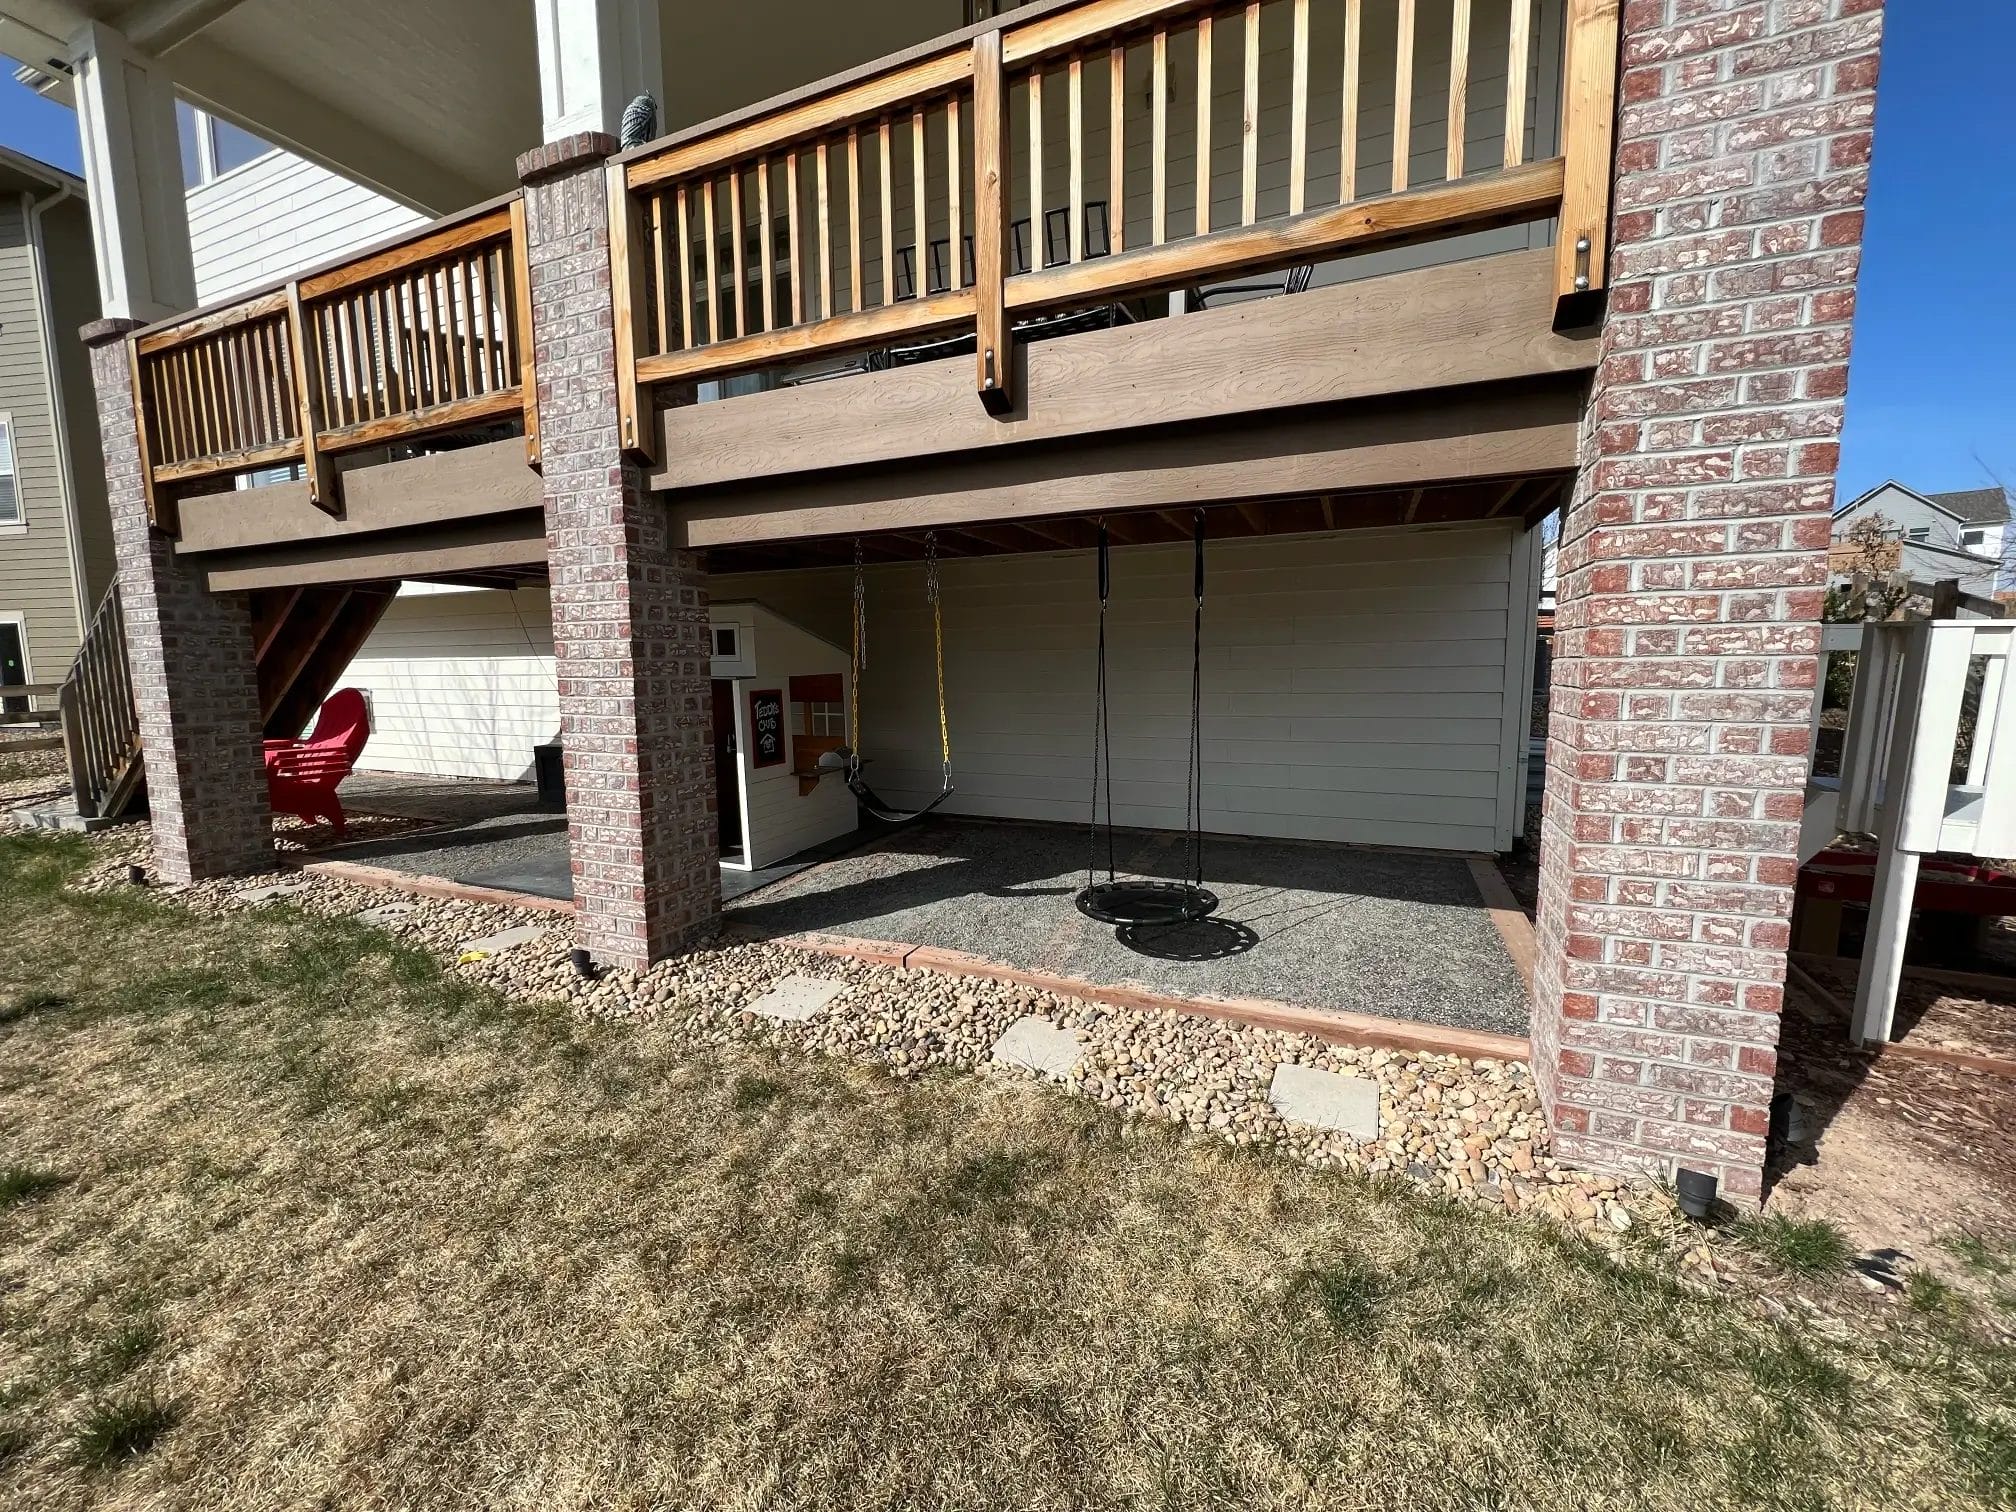
Step 3: Fill with Chipped Rock

We filled the 8’ x 4’ sections with chipped rock. When you wet down chipped rock it makes a concrete-like consistency that really stays in place rather well. This took about 5 millions pick-up truck loads with my Dad’s truck to fill these areas and a lot of moving rock with the wheelbarrow.
This was not fun, but in a couple days we had created a concrete-like area for the kids to use for about $500 instead of $15k for poured concrete. We actually finished this years ago and lived with it like this for several summers.
Ultimately, I didn’t like the mess that the chipped rock created on the kid’s clothes and shoes. You also could not walk on it barefoot and if the kids tripped and fell on it they would get skinned hands and knees. So I started to look for another solution that utilized what we already had and wasn’t $15k in concrete work.
Step 4: Buy Runnen Decking
Great, flexible decking that is super forgivable. It's easy to put together and looks great!
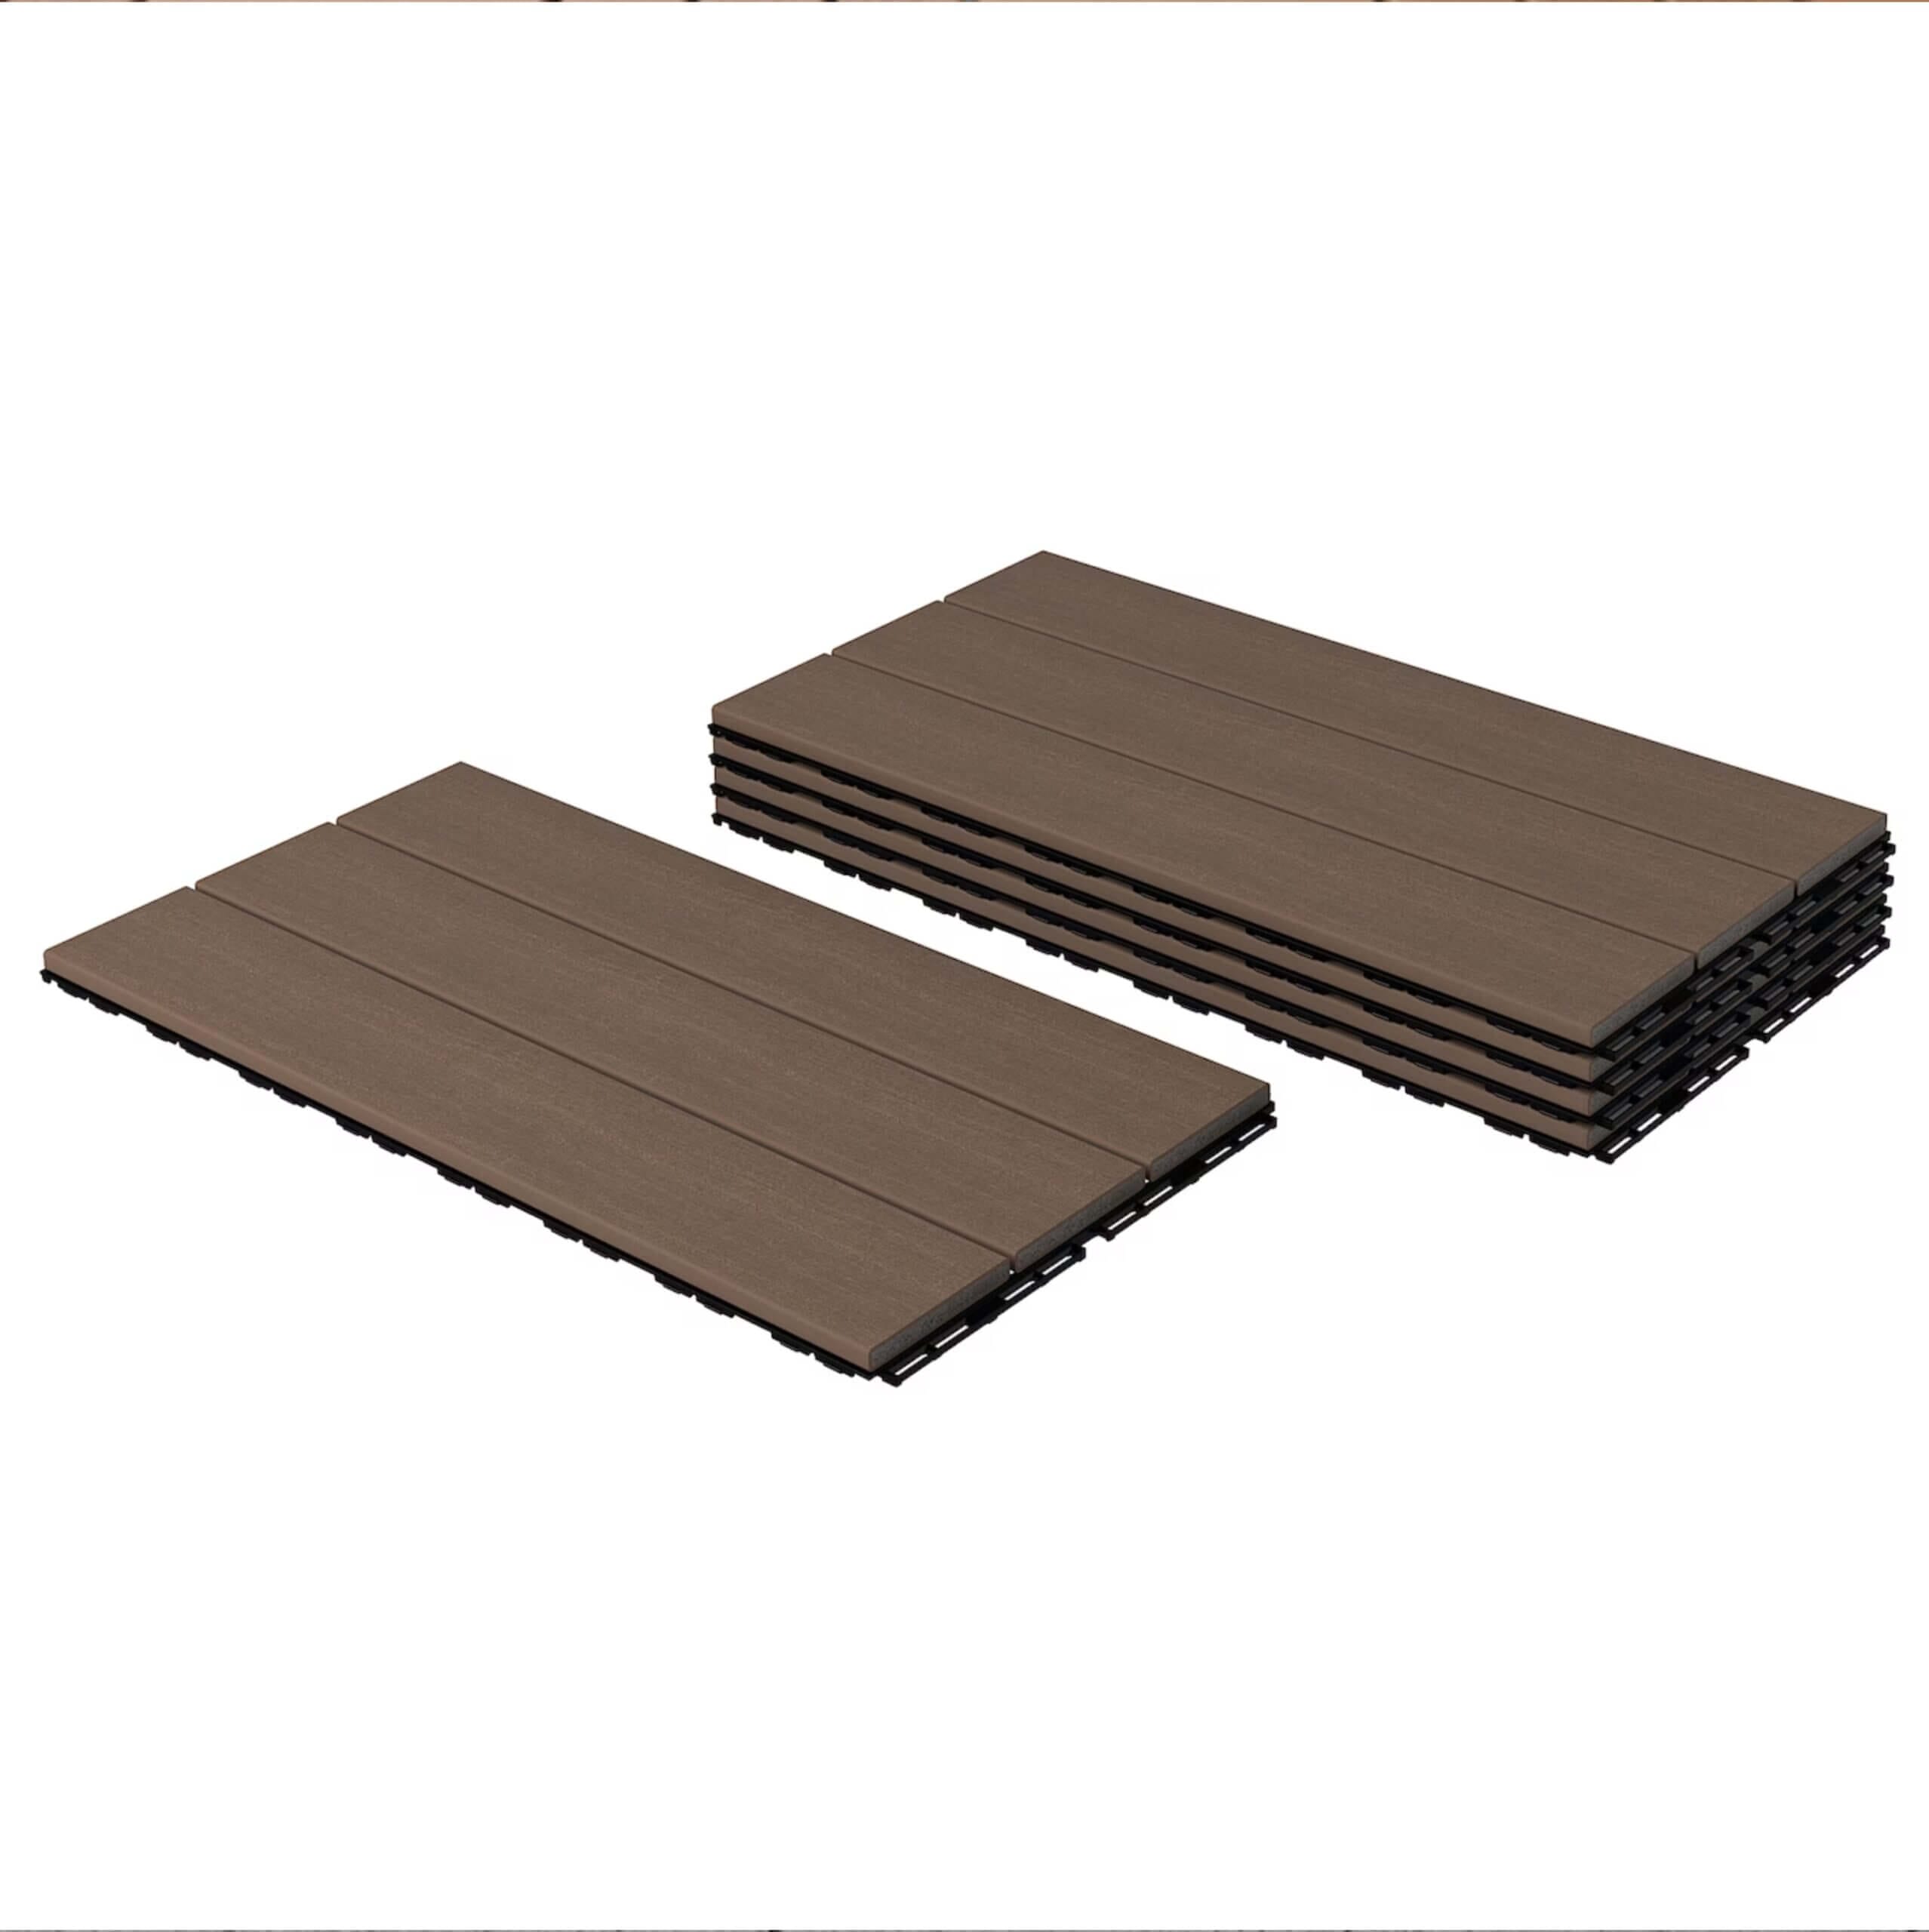
Enter the IKEA Runnen decking tiles. We had seen several blog posts where people had utilized the IKEA Runnen floor decking to makeover their patios. After reading lots of favorable blog posts, we decided to give it a whirl and placed an order for 350 square of Dark Grey Plastic Decking – IKEA Runnen.
I also figured out how many edge pieces I would need and ordered these edging strips as well as corner pieces.
The total came to just about $1000 on the IKEA website. This also included delivery to our driveway. Delivery is a great deal with items like this because for $129 they delivered this to our house and we live about 2 hours from an IKEA. It also was not available in store and we did not have to wait for it to become available.
Step 5: Level Chip Rock

Before we put the IKEA Runnen decking tiles down we made sure everything was very level by using a level and big metal square post to move around the rocks and make everything very smooth.
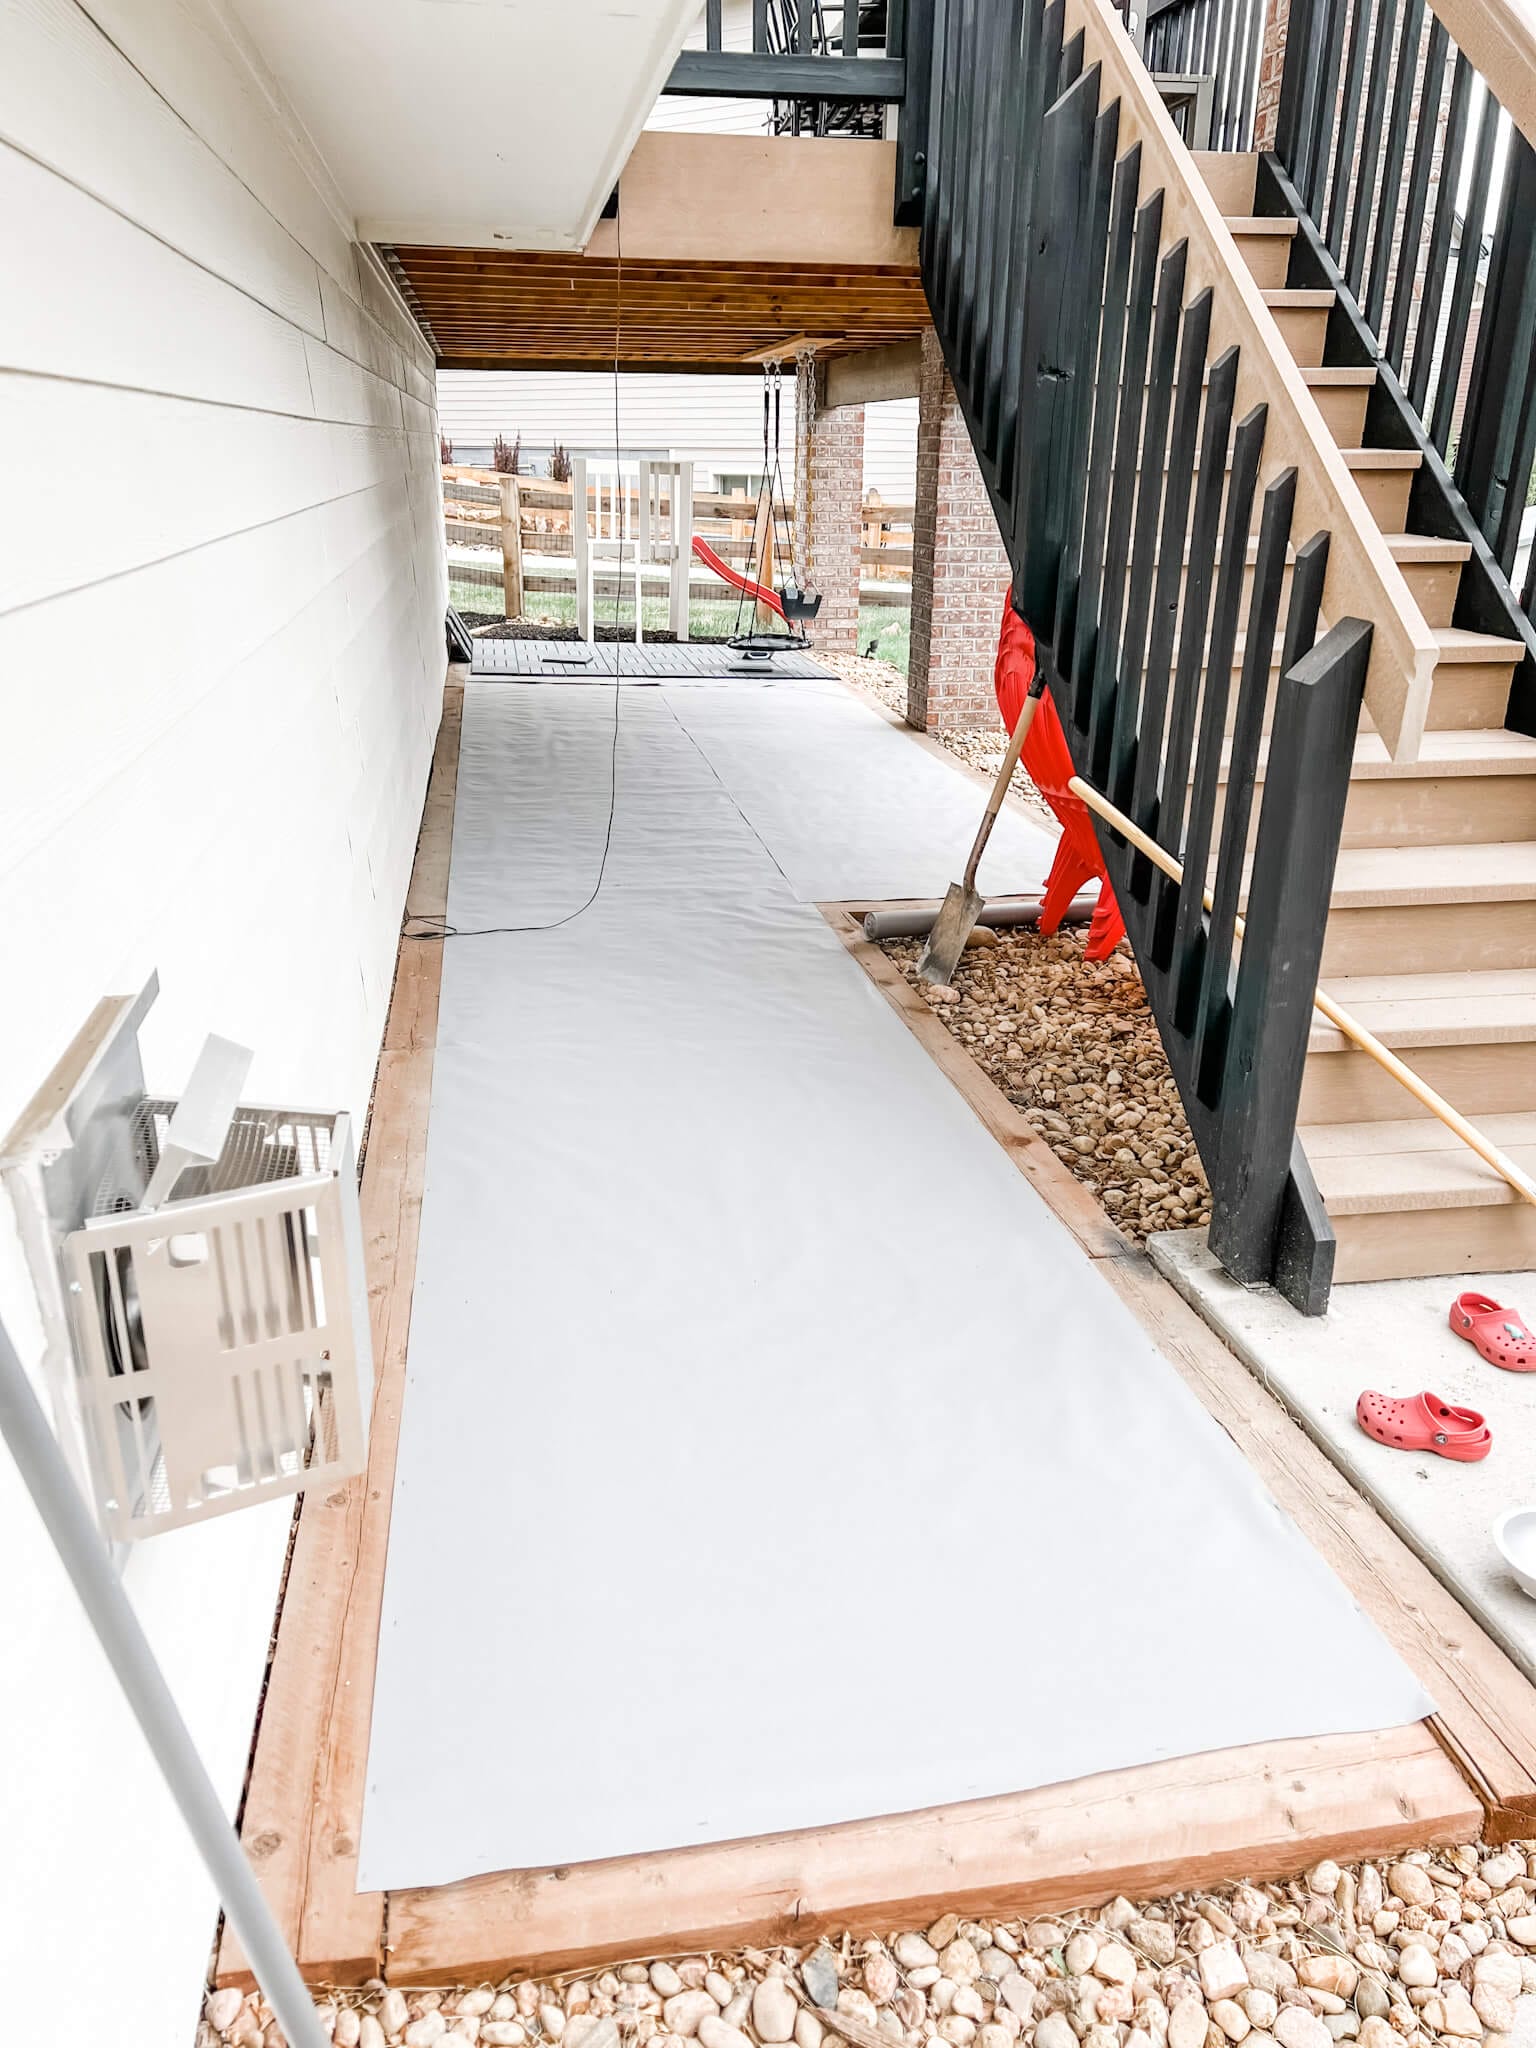
Step 6: Cover with Landscape Fabric
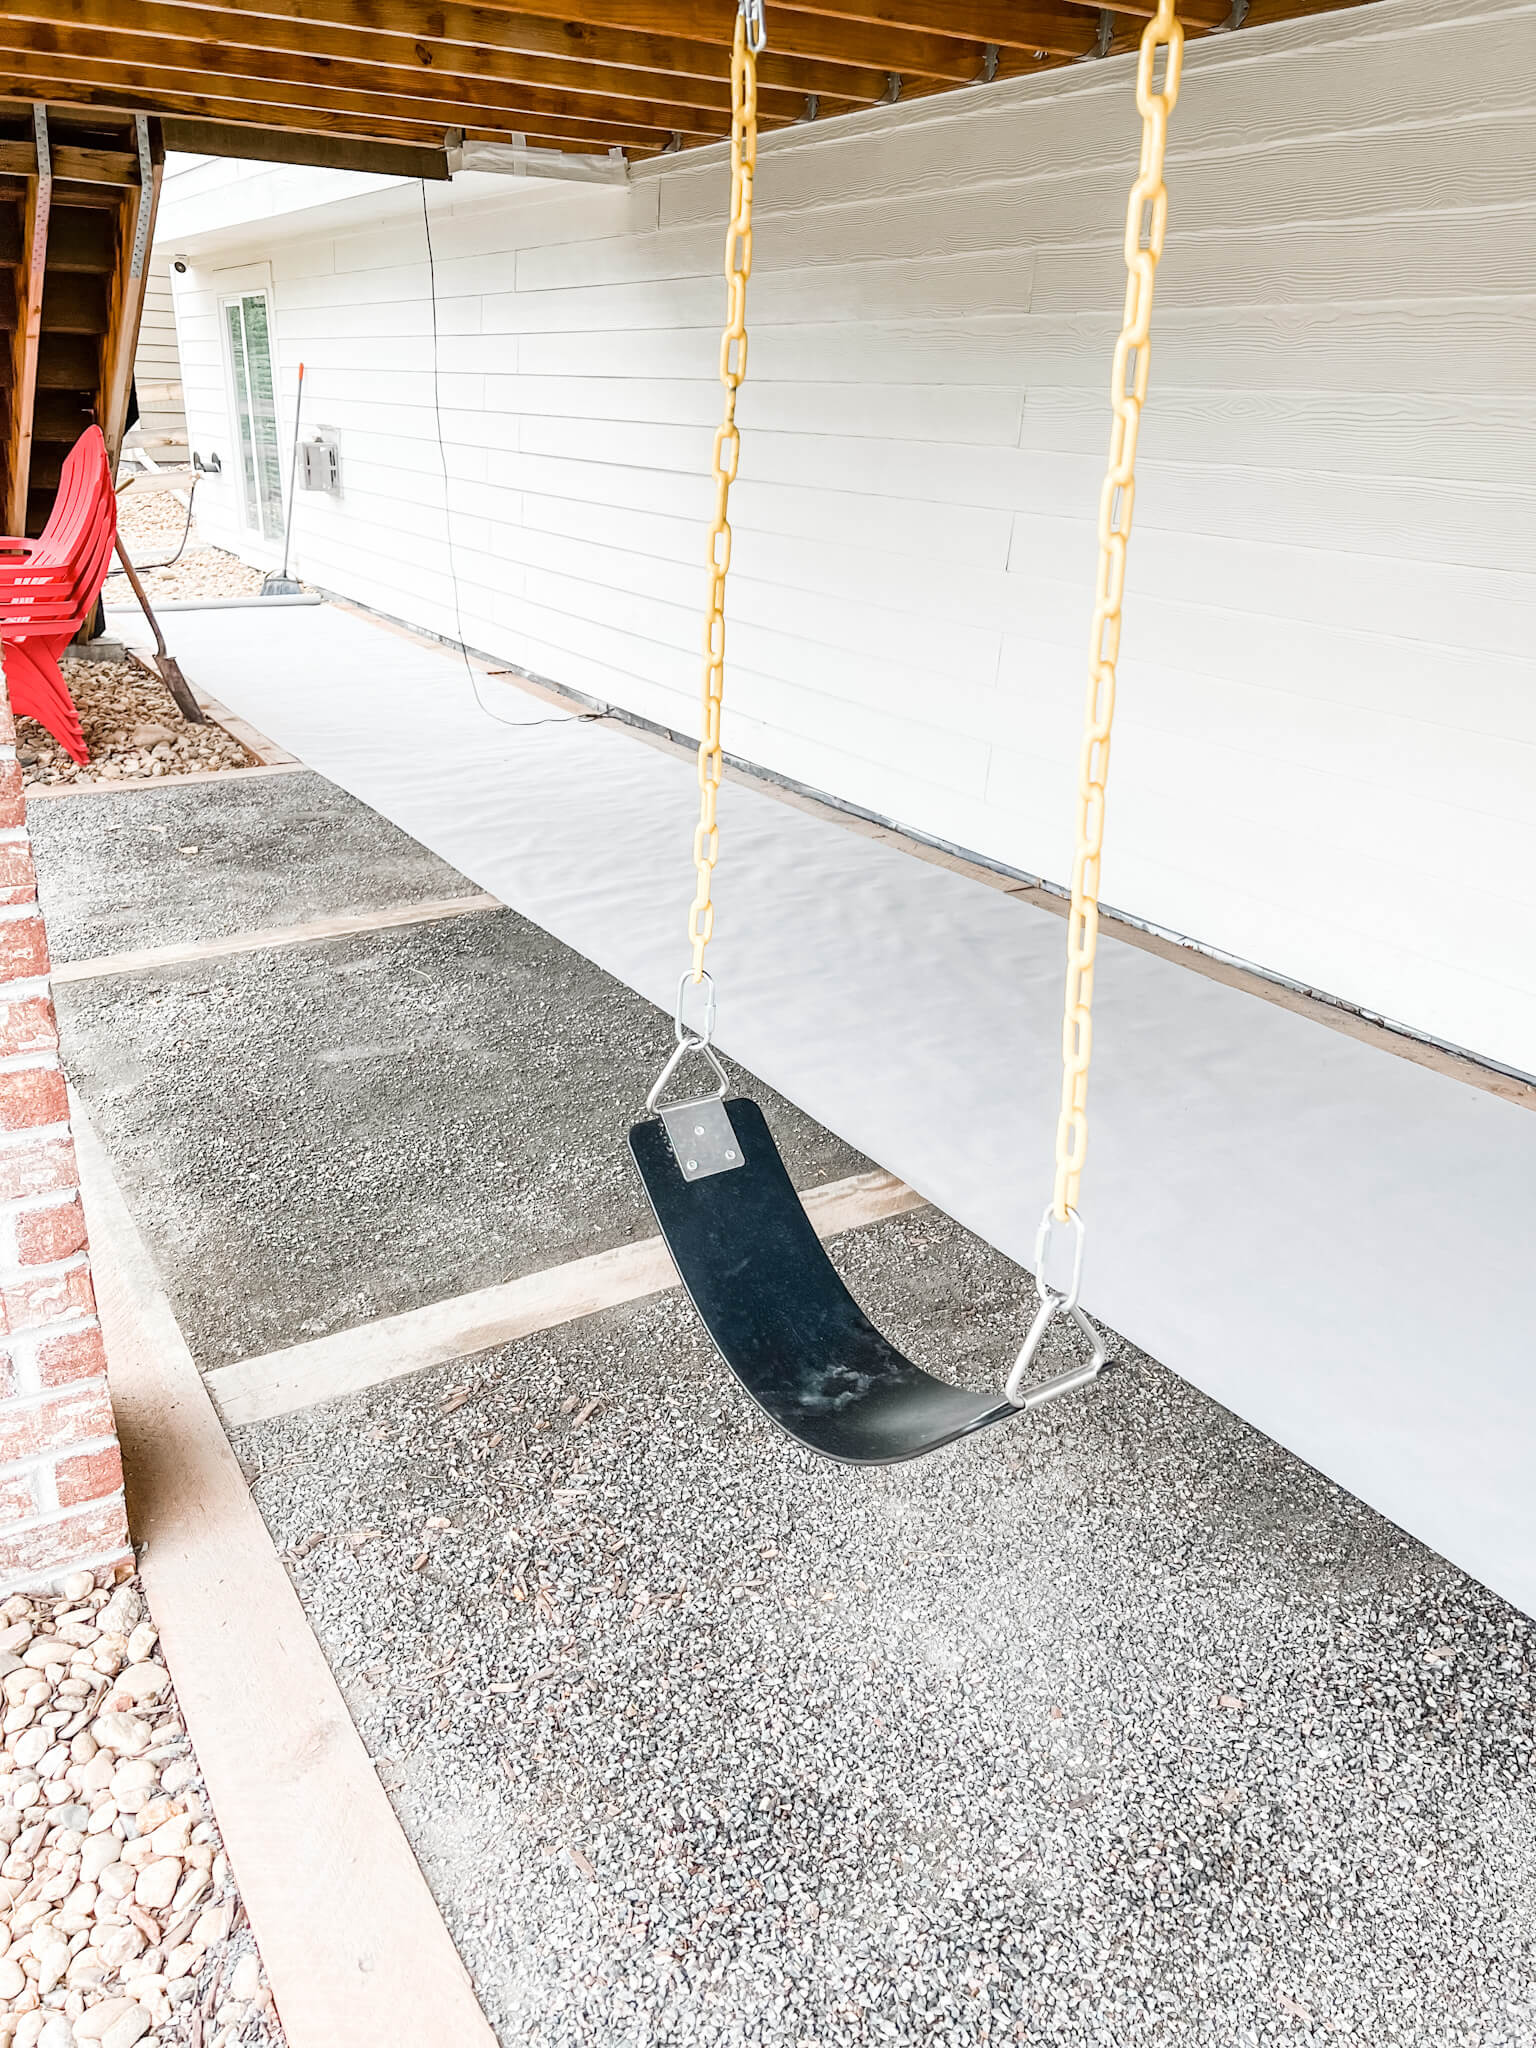
Lay down landscape fabric. This was an important step once we got all of the rocks leveled because we didn’t want the rocks or concrete dusk to come up through the slats in the deck.
We laid heavy duty landscape fabric over the entire area and used a stapler to secure it to the railroad ties.
Step 7: Lay the Runnen Tiles
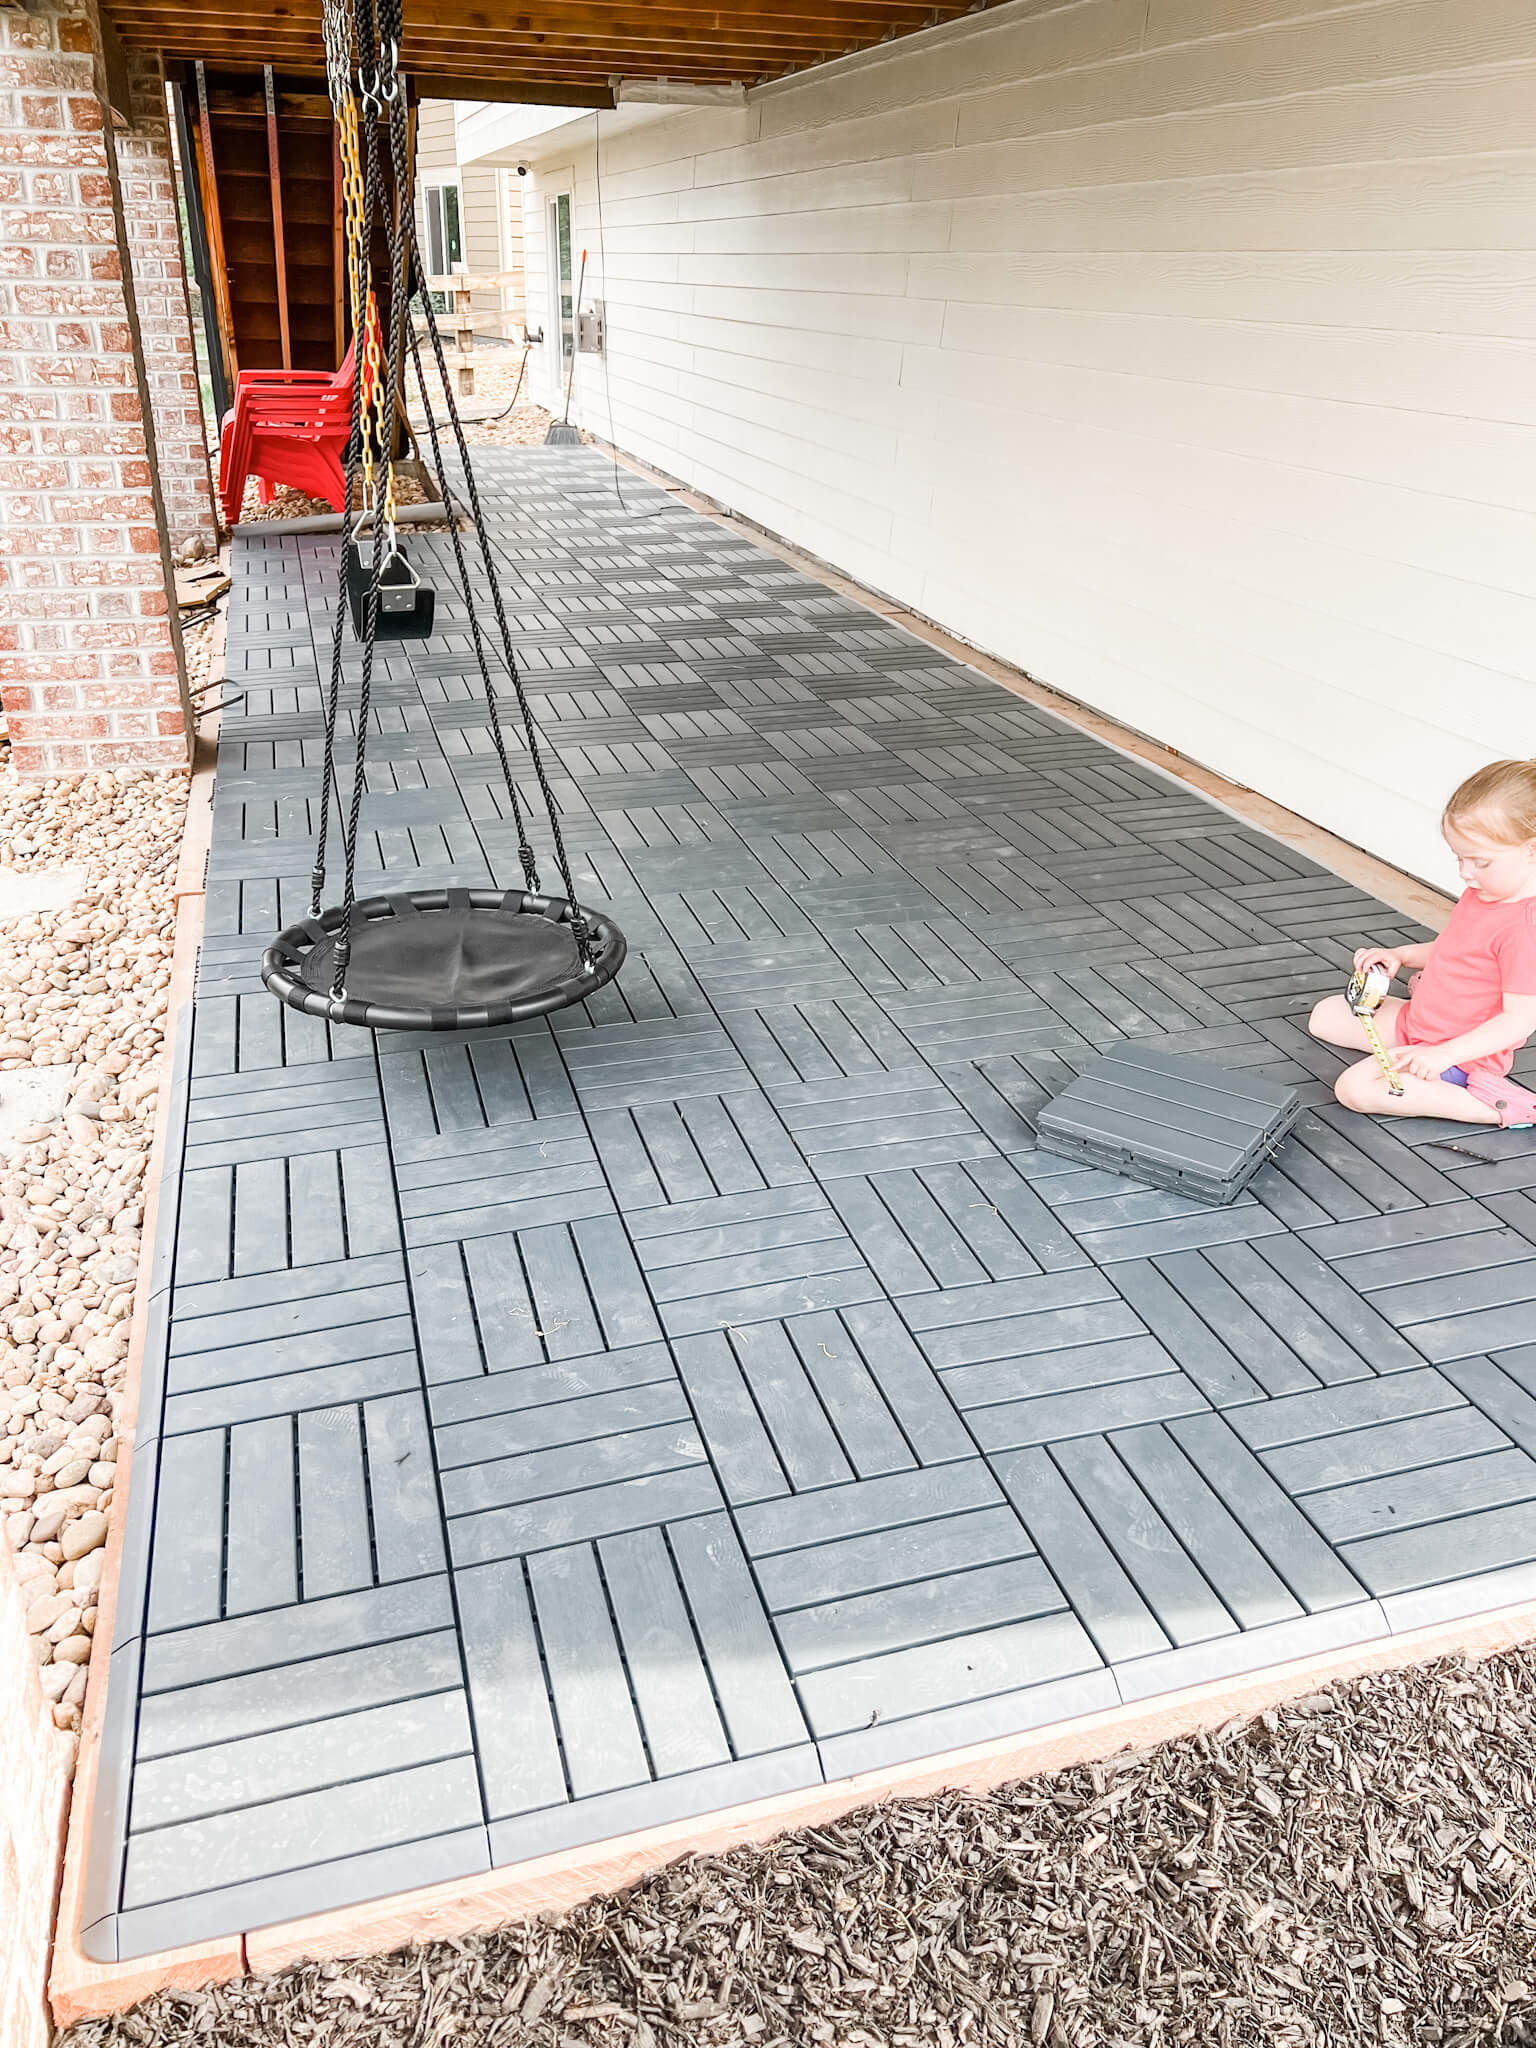
Lay the IKEA Runnen deck tiles.
Installation Tips for IKEA Runnen Deck Tiles
Preparing the base well is important. Remember to ensure that everything is level before laying the tiles.
Take your time with this step, as it will save you trouble later. Use a level to check the surface regularly.
Keeping rocks and debris away helps maintain a smooth finish. For cutting tiles to size, a table saw works best. Wearing gloves while handling the tiles can prevent minor injuries too.
Since there were still some inconsistencies in the chipped rock and railroad ties even after leveling everything, we decided to go with a checkerboard pattern when putting the tiles in place to switch up the vertical lines a little bit.
I think this made the overall finished product look smoother than if we had laid out everything in a vertical direction. The tiles snap together very easily. We did need to cut the pieces that are against the house, but this went really quickly using a table saw.
Step 8: Screw in Tiles

After we had all of the IKEA Runnen deck tiles in place we screwed down the ones that overlapped on the railroad ties so they won’t come flying up with a big gust of wind.
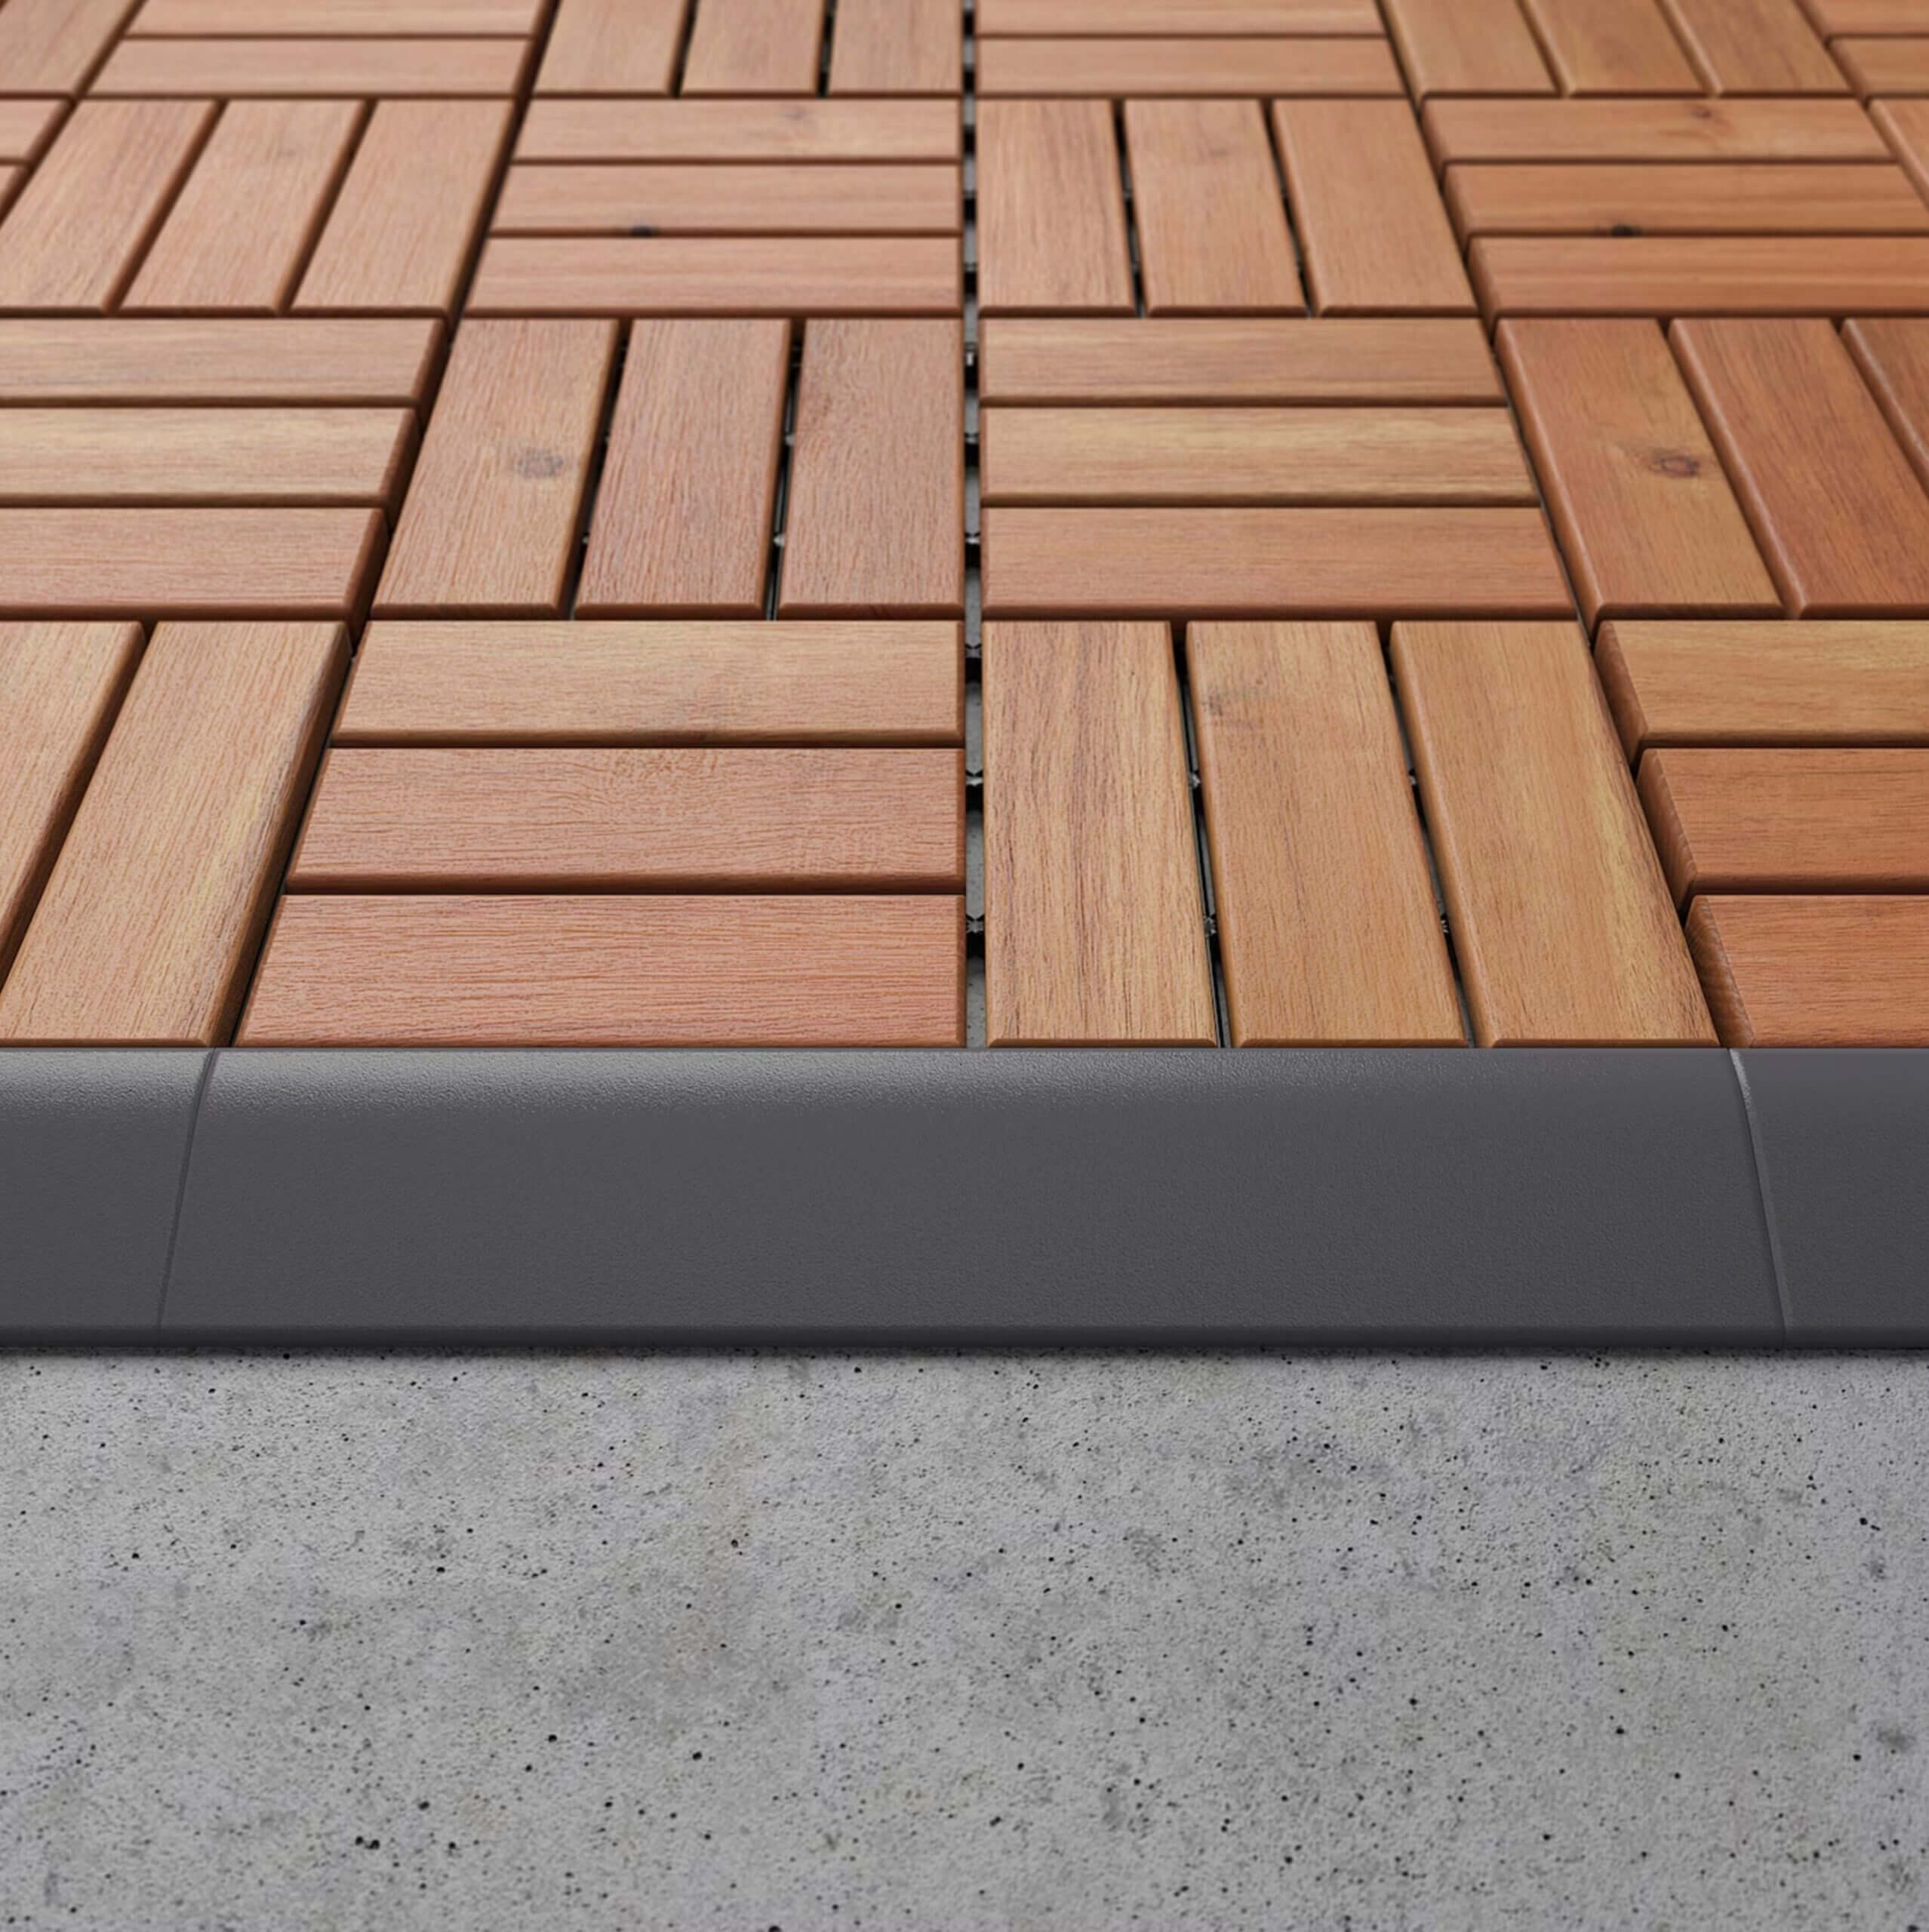
Step 9: Add Edging Strips and Corner Edges – Cut to Fit
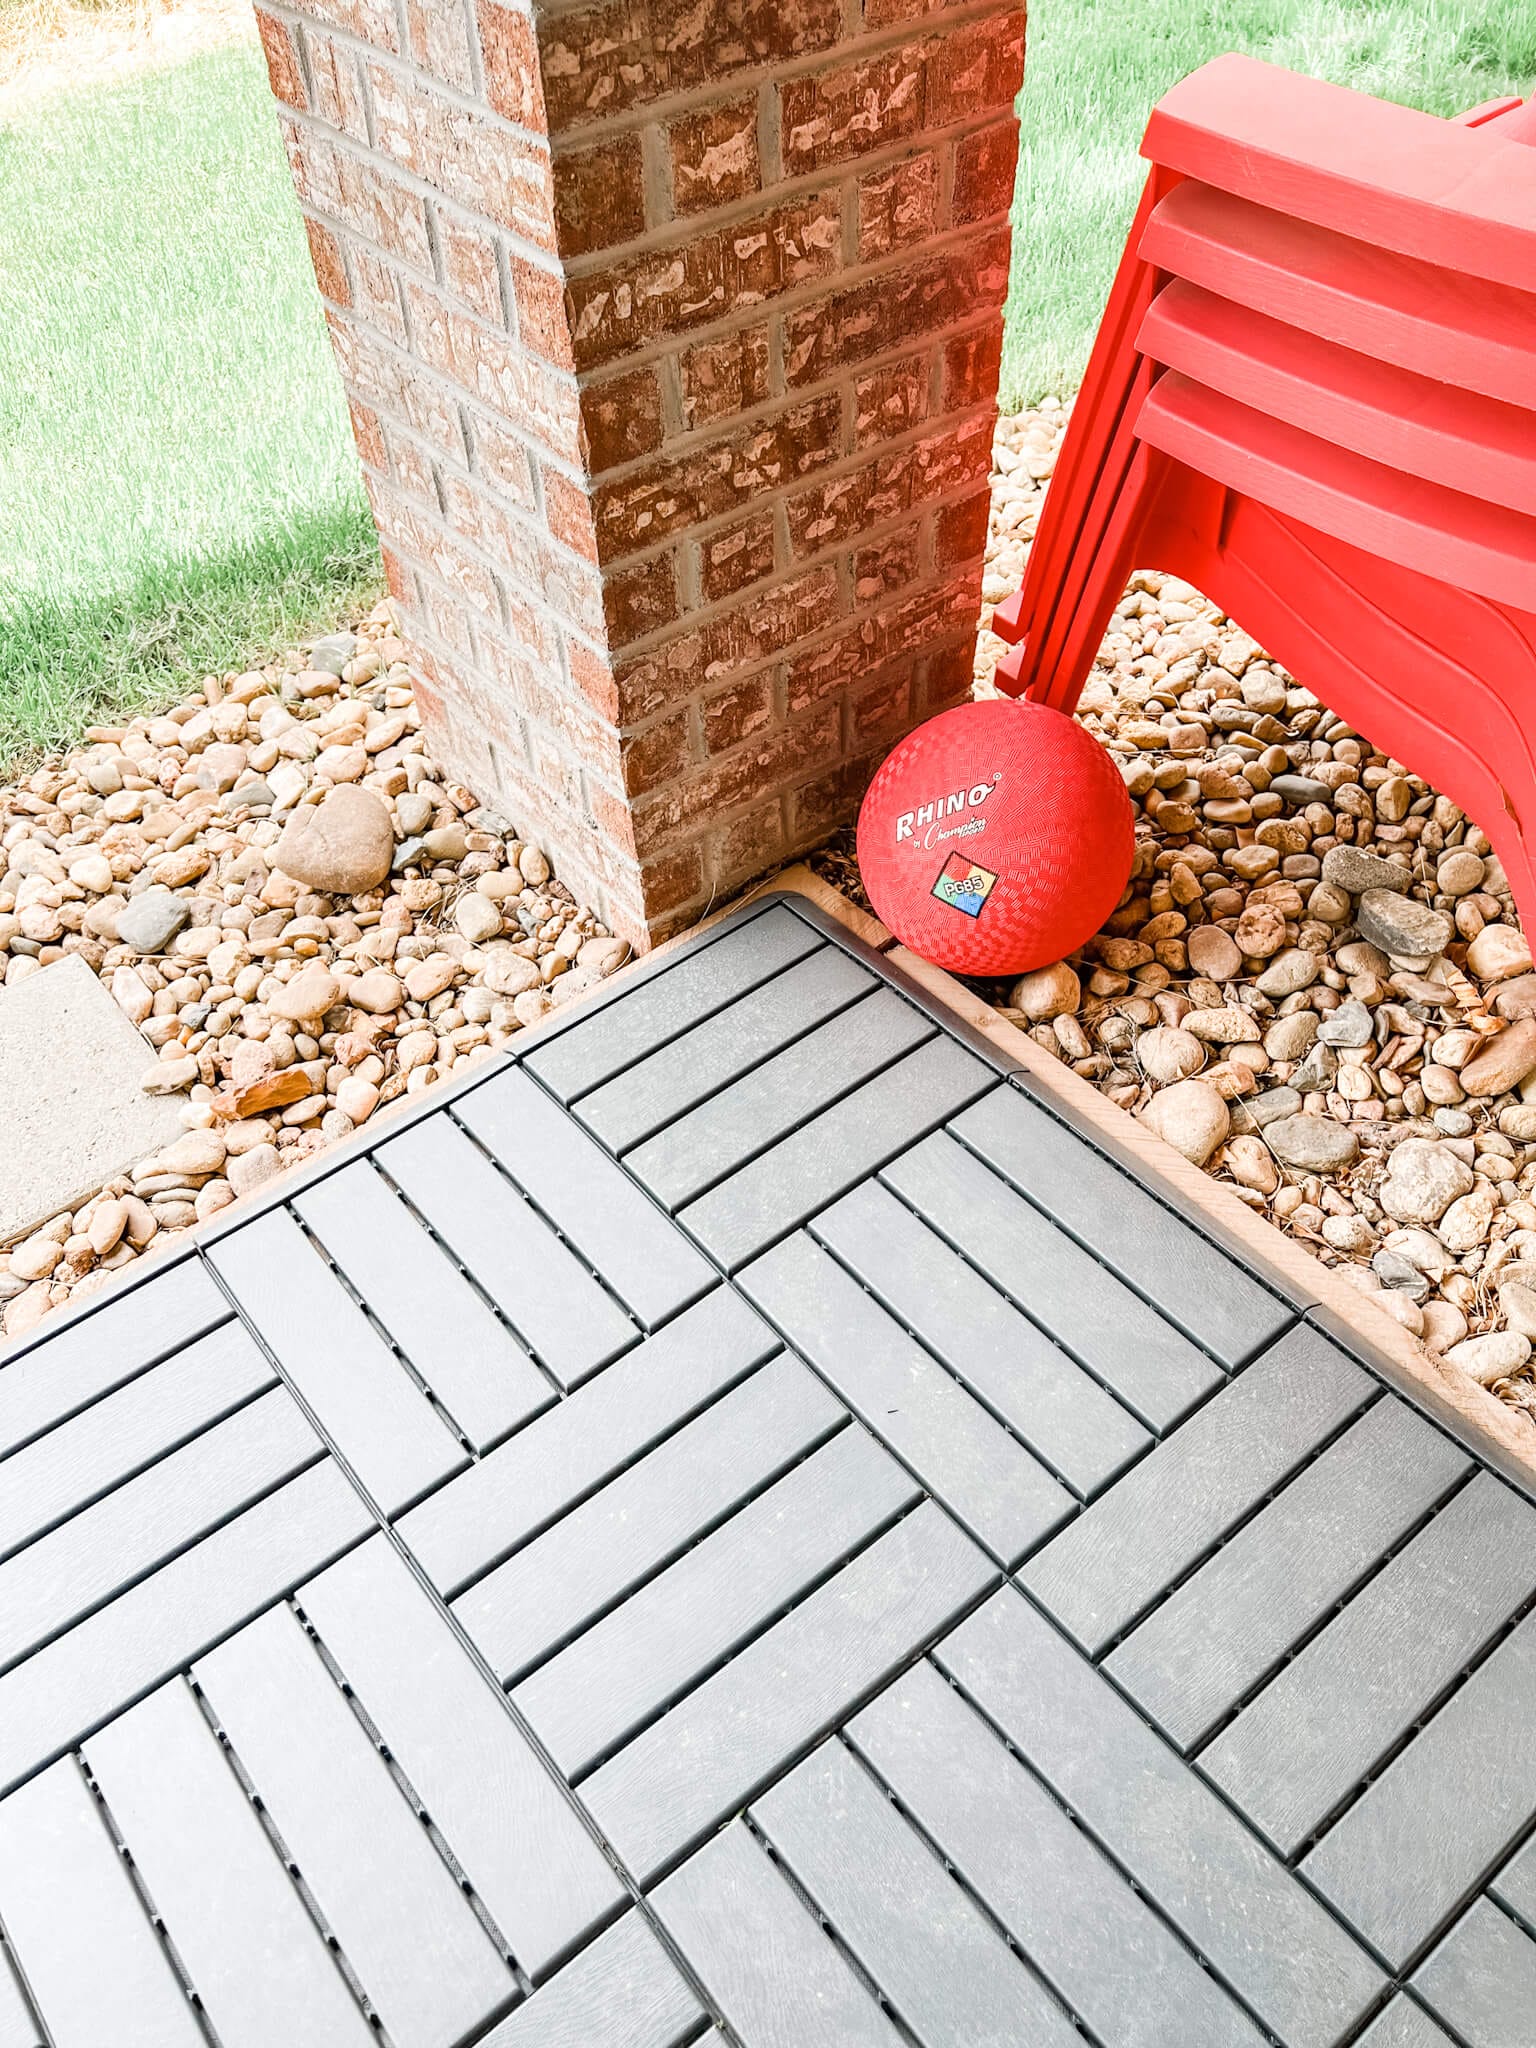
After screwing down all the IKEA Runnen deck tiles we added the Runnen Edging strips and the Runnen Corner edges. We did have to create one inside corner using the miter saw out of the edge pieces, but overall this was very simple.
Step 10: Enjoy!

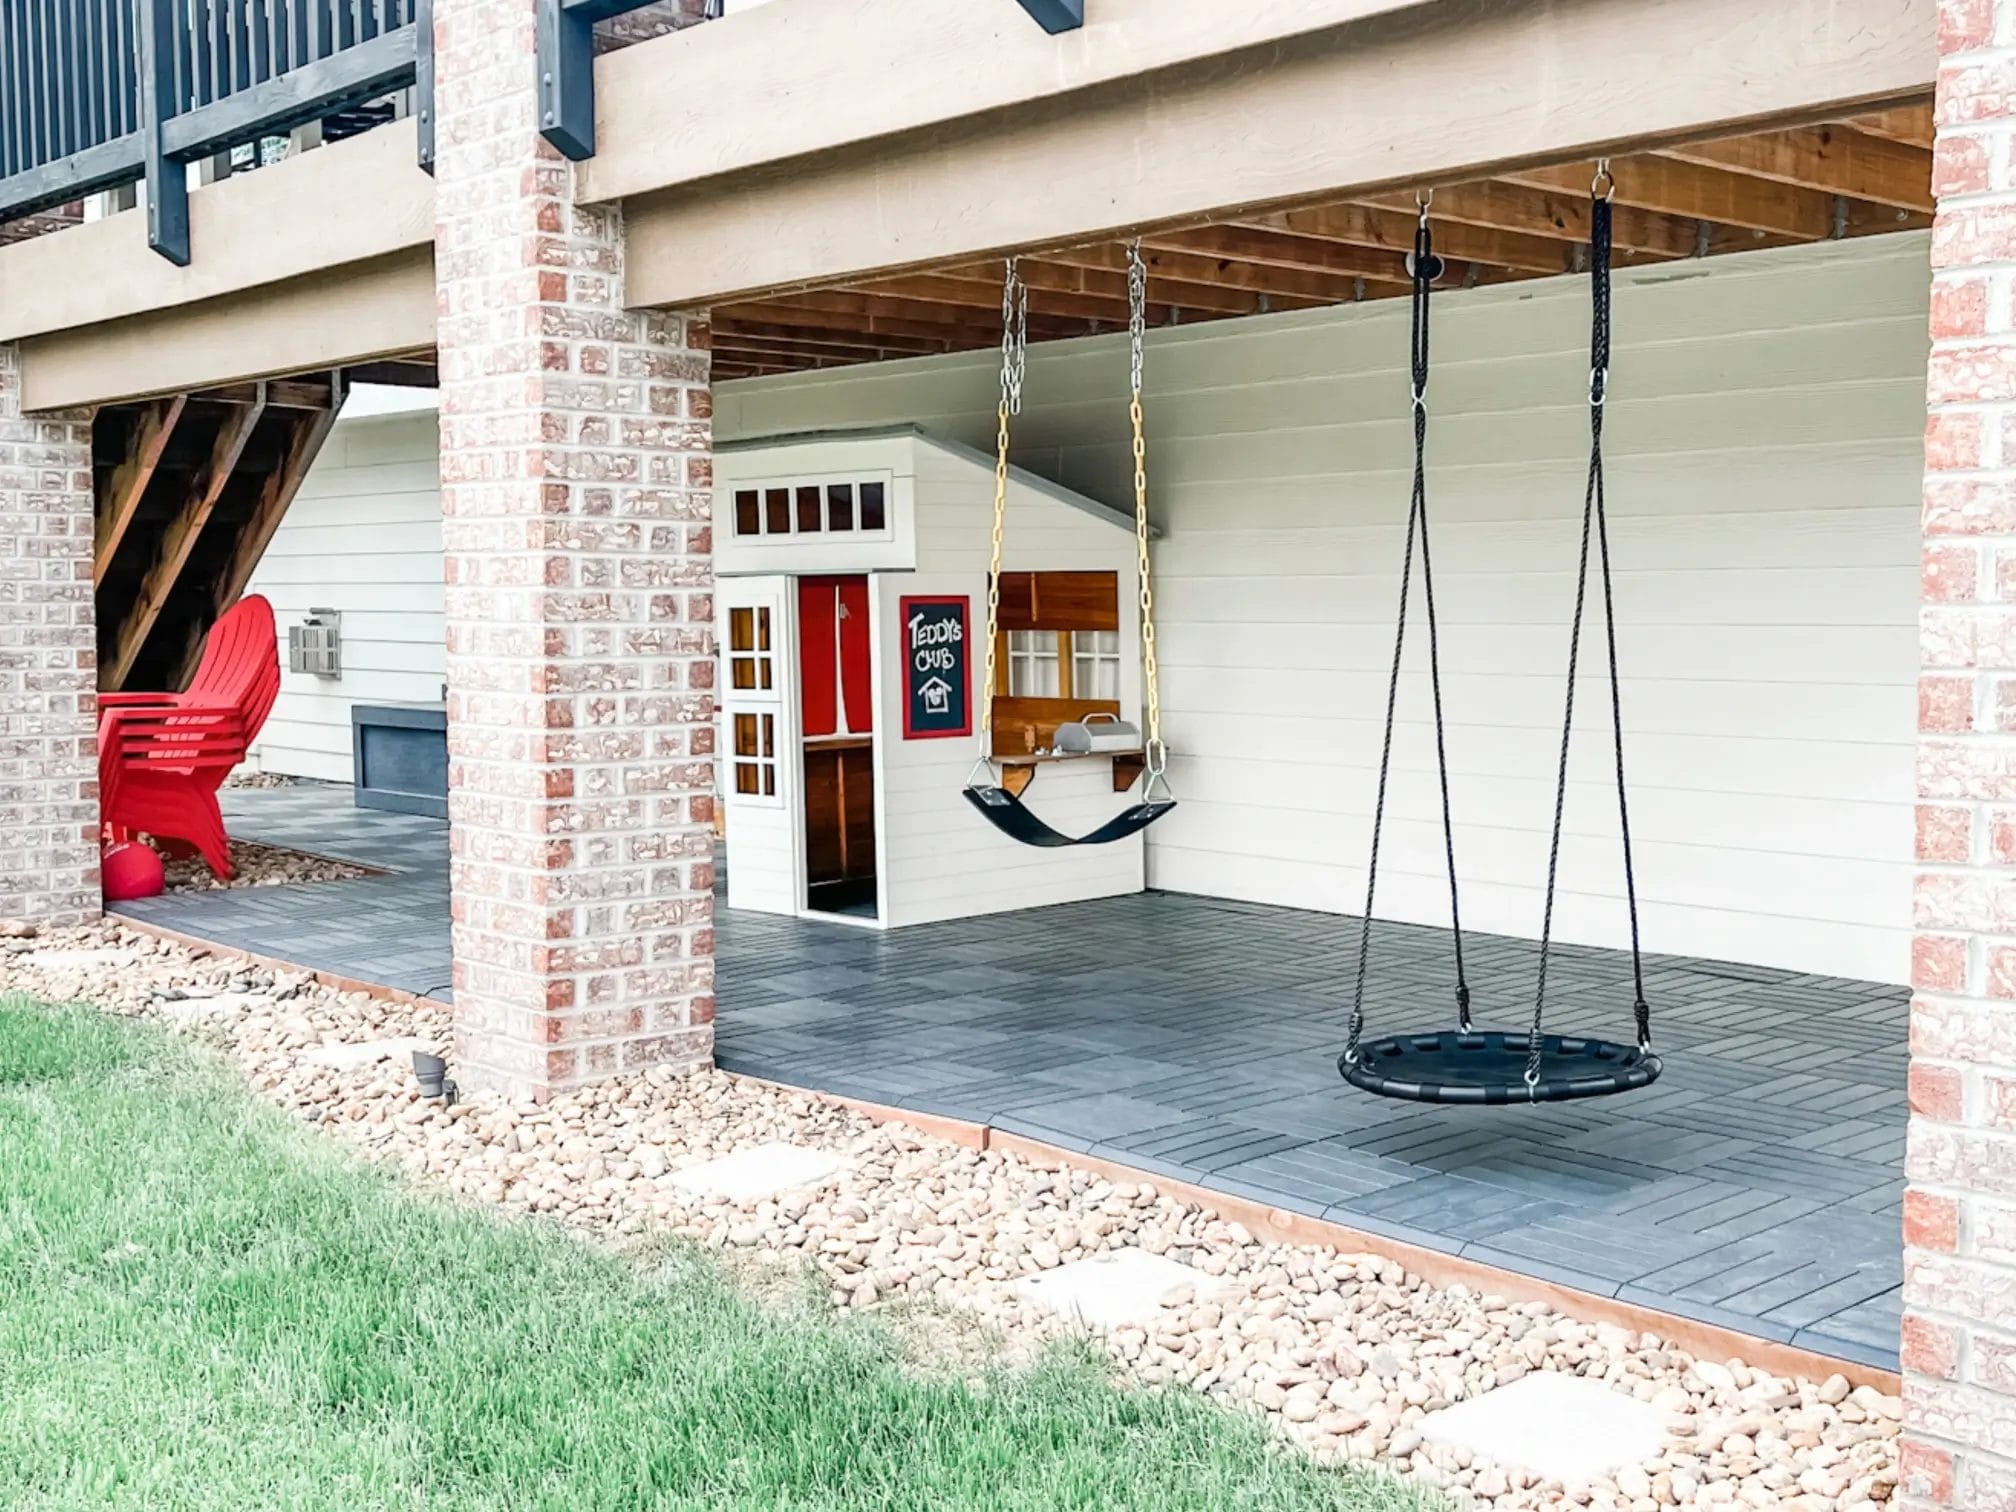
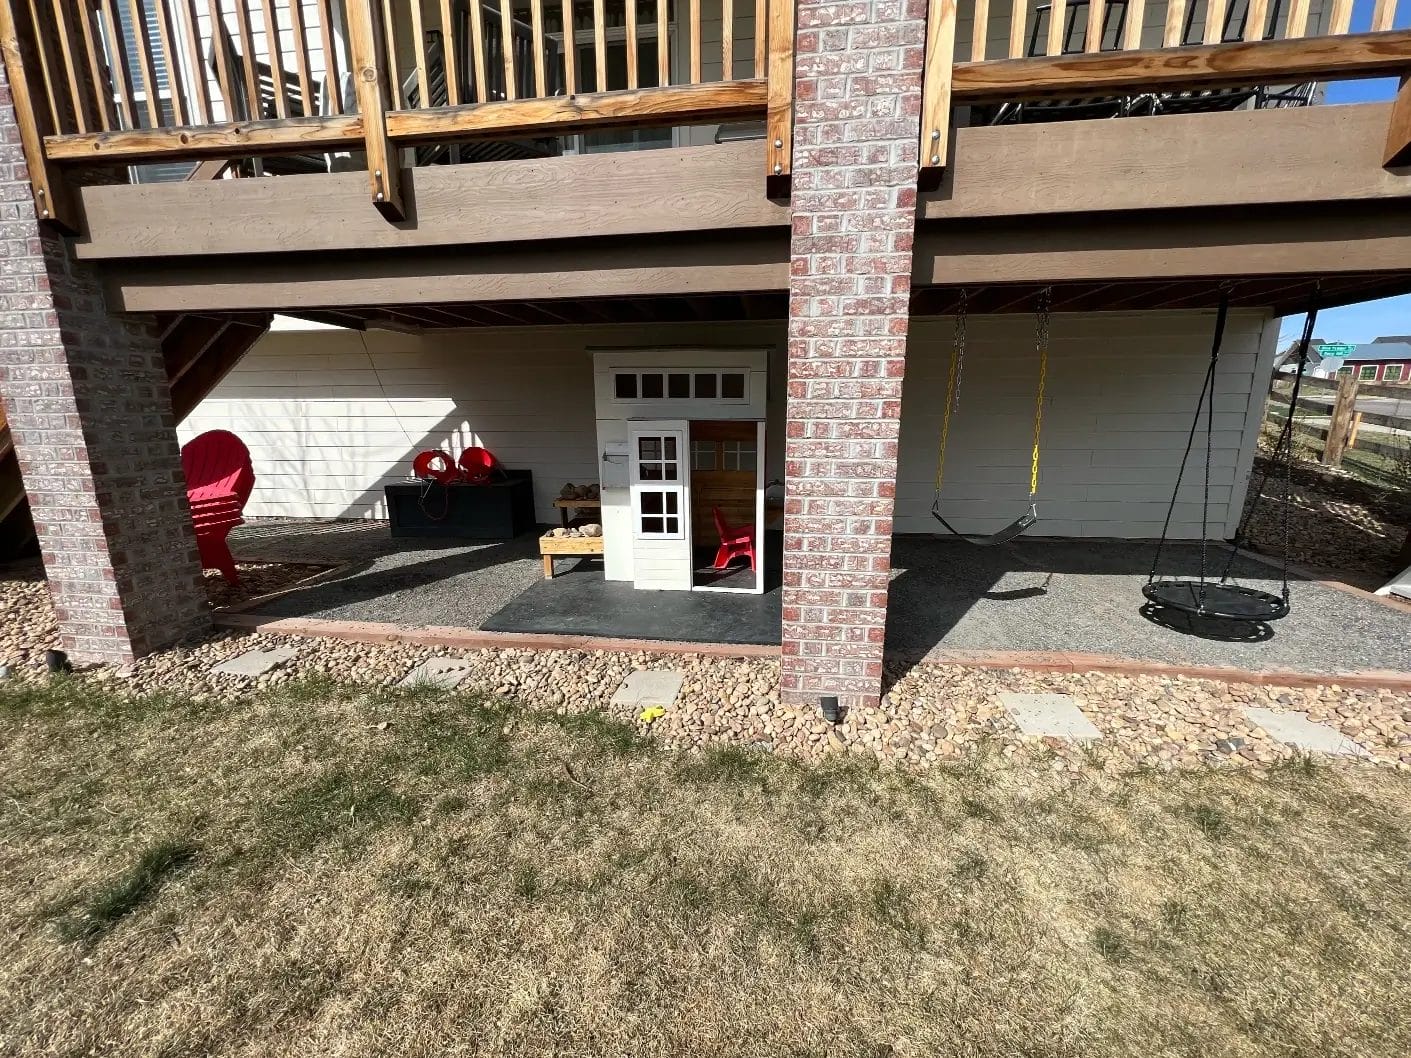
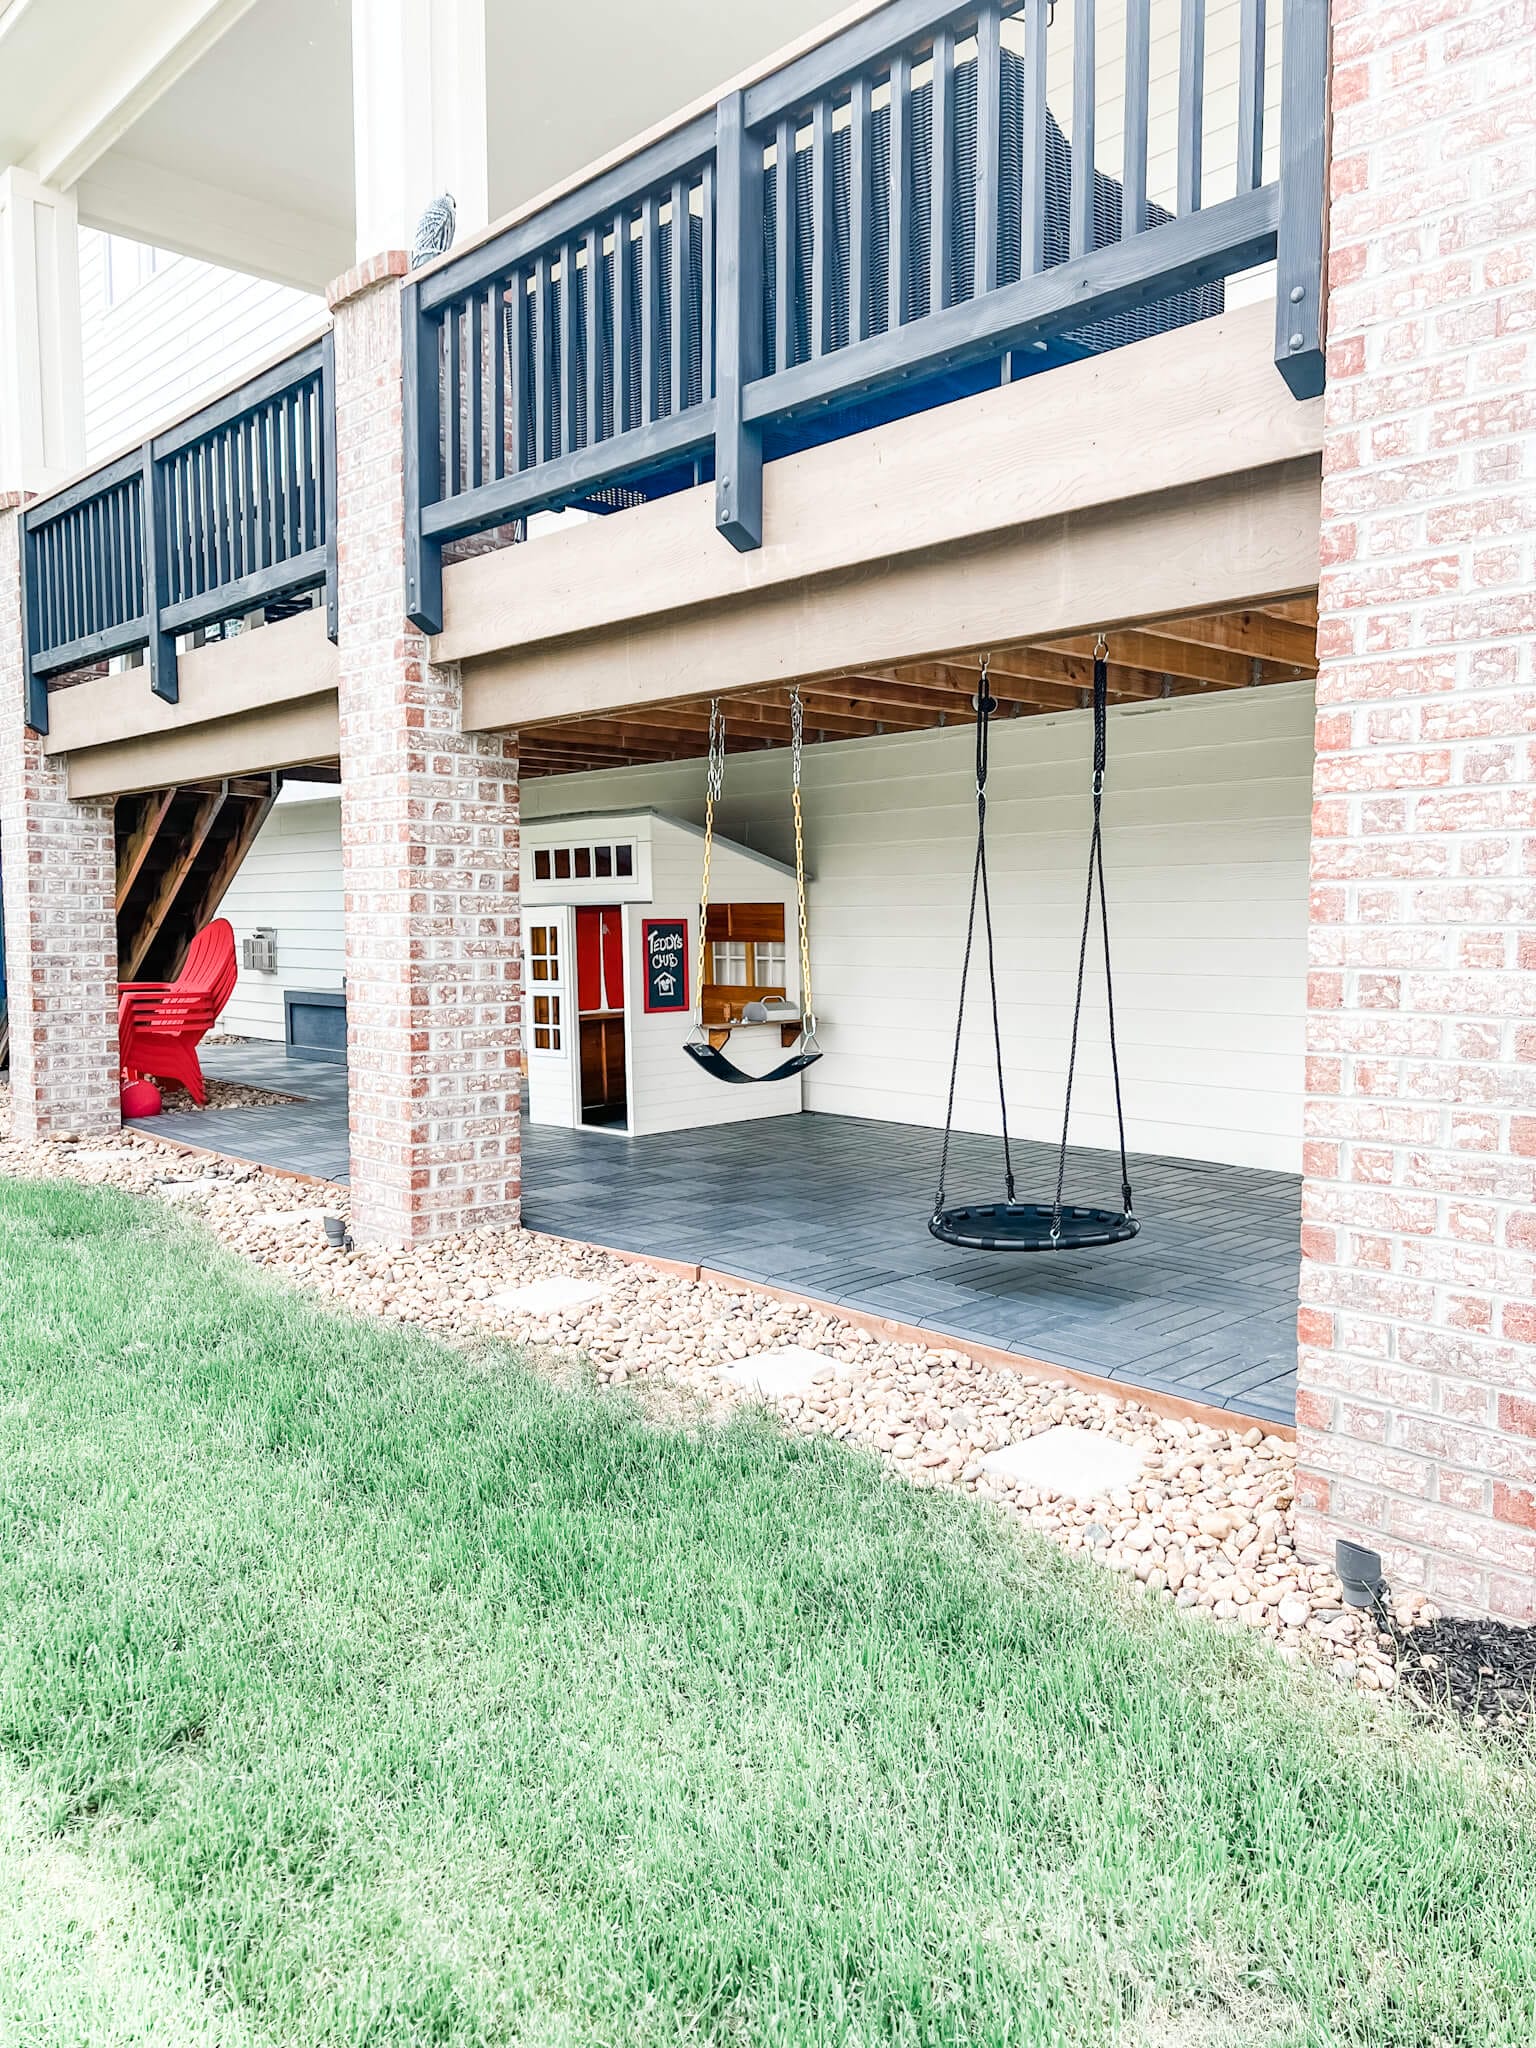
Enjoy! We put the playhouse, outdoor toy box and swings back up and the area was ready for the kiddos! It is such a great way to utilize a space that would have otherwise been unusable with the rocks and get a little more square footage out of our lawn.
The kids love that they don’t have to wear shoes in the backyard anymore and that they can run from the swings to the trampoline without taking their shoes on and off.
Mrs. WeTriedIt loves that the chipped rock doesn’t get tracked inside and Mr. WeTriedIt loves that it cost $1500 instead of $15,000 to create a great outdoor play area. Keeping that desert grit outside also means less dust drifting through the house, one of the same wins we chased in our best air purifier review.

What we love about the IKEA Runnen Deck Tiles:
- Easy to use- they snap right together.
- Not a permanent solution if you want to do something different in the future.
- Easy to cut to customize projects.
- Varieties in color for different projects.
- Price is very reasonable.
- IKEA Runnen system includes options for deck tiles, edge pieces and corner pieces that we did not find in other decking options. The IKEA Runnen Decking is a great solution for creating an outdoor space on a budget. The decking tiles are easy to use and install, and the edging and corner pieces are also very simple to use. The decking is a great option for creating a temporary or custom outdoor space, and the price is very reasonable.
Benefits of IKEA Runnen Decking for All Year-Round Use
IKEA Runnen Decking is designed to withstand all sorts of weather. It holds up in rain, sun, and even snow. Whether exposed to UV rays in the summer or chilling conditions in the winter, the materials remain stable.
This makes it a great choice for those looking to keep their outdoor space looking good all year. It’s resistant to fading and doesn’t warp, so you can enjoy peace of mind during every season.
The deck’s design also helps with drainage. When it rains, water easily flows through, reducing puddling and potential slip hazards. This makes it practical in areas with frequent rainstorms.
The material’s resistance to mold ensures even prolonged exposure to moisture won’t lead to unsightly stains or odors. This is great for peace of mind in wetter climates.
What we don’t love about IKEA Runnen Deck Tiles:
- You can tell that the quality of our Trex Decking on the upper deck is much higher than the IKEA Runnen tiles.
Who is this product for?

We think the IKEA Runnen decking tiles are a great temporary solution. With kids, their interests and activities are always changing and evolving so for us we didn’t want to spend a ton of money creating a play space that might only interest them for the next five years.
If this were a 30-year project, I would not suggest going this route. However, if you are a renter or are looking for a temporary budget-friendly solution for an outdoor space, I think this is a great option. For us, I think we will re-evaluate in five years what the space might be good for and see how the IKEA Runnen decking tiles are holding up at that time.
IKEA Runnen Deck Maintenance Guide
Maintaining your IKEA Runnen Decking is easy. Start by cleaning it regularly with a garden hose to remove dust and dirt.
For tougher stains, a mild soap solution and a soft brush will do the trick. Avoid harsh chemicals that could damage the surface.
It’s a good idea to check the tiles periodically for loose connections and secure them if needed. Simple care will keep your decking looking fresh and prolong its life.
For winter care, brushing off snow before it turns to ice is best. This prevents slipping while also protecting the surface.
In hot climates, if tiles become warm to the touch, a quick rinse with cold water cools them down. Regular maintenance checks make sure any wear is addressed early, keeping your decking in top condition year after year.
Alternatives
There are obviously lots of alternatives for building a deck. We really like our Trex deck! However, for the price we couldn’t come anywhere near the $1500 this project cost us with a different material.
Comparison with Competitors
When compared to other decking options like wood, PVC, and composite materials, IKEA Runnen stands out as a budget-friendly choice.
While traditional wood may offer a classic look, it requires more maintenance and care. PVC options are more expensive and can be slippery when wet. Composite materials tend to be durable but come at a higher cost.
Runnen’s easy installation and compatibility with different spaces make it a versatile option.
Other Considerations with Runnen tiles
Runnen Tilers are designed to conduct the installation on top of hard and tough surface areas like cement, concrete, or even wood paneling.
The Deck looks and feels a little “cheap” out of the box, but on the floor (or balcony or wherever you place it), it feels much studier when you put it together.
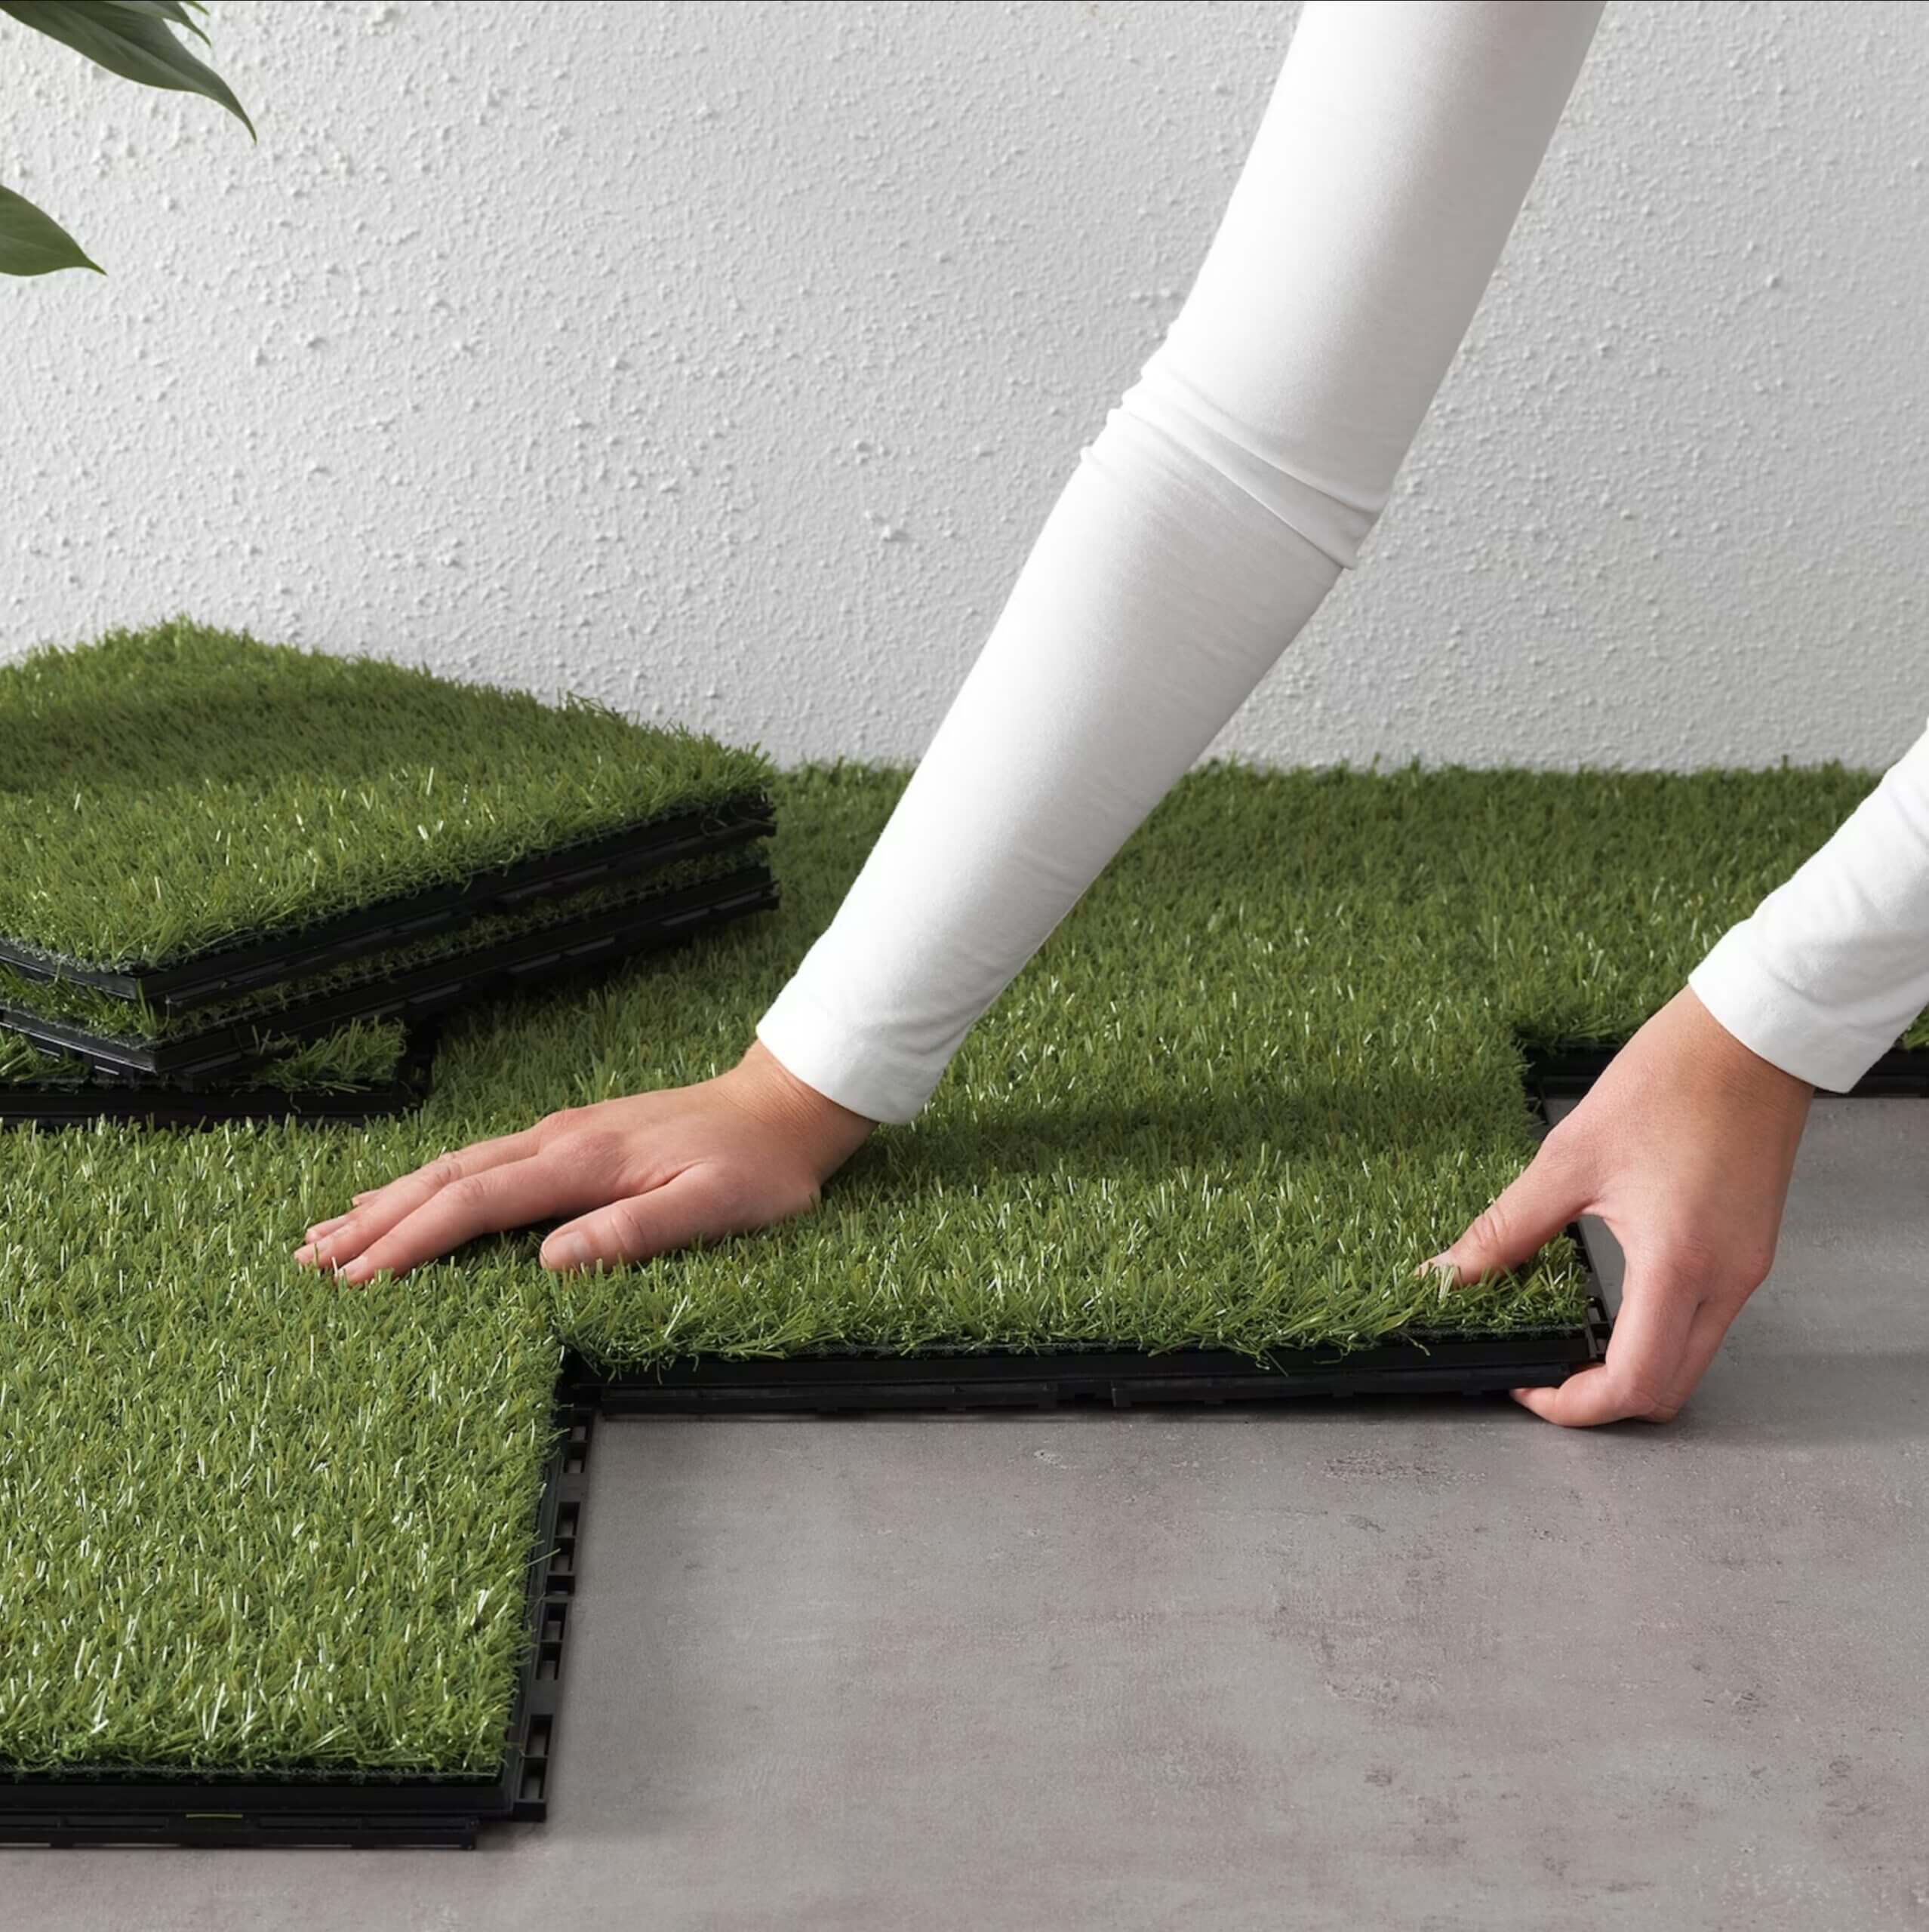
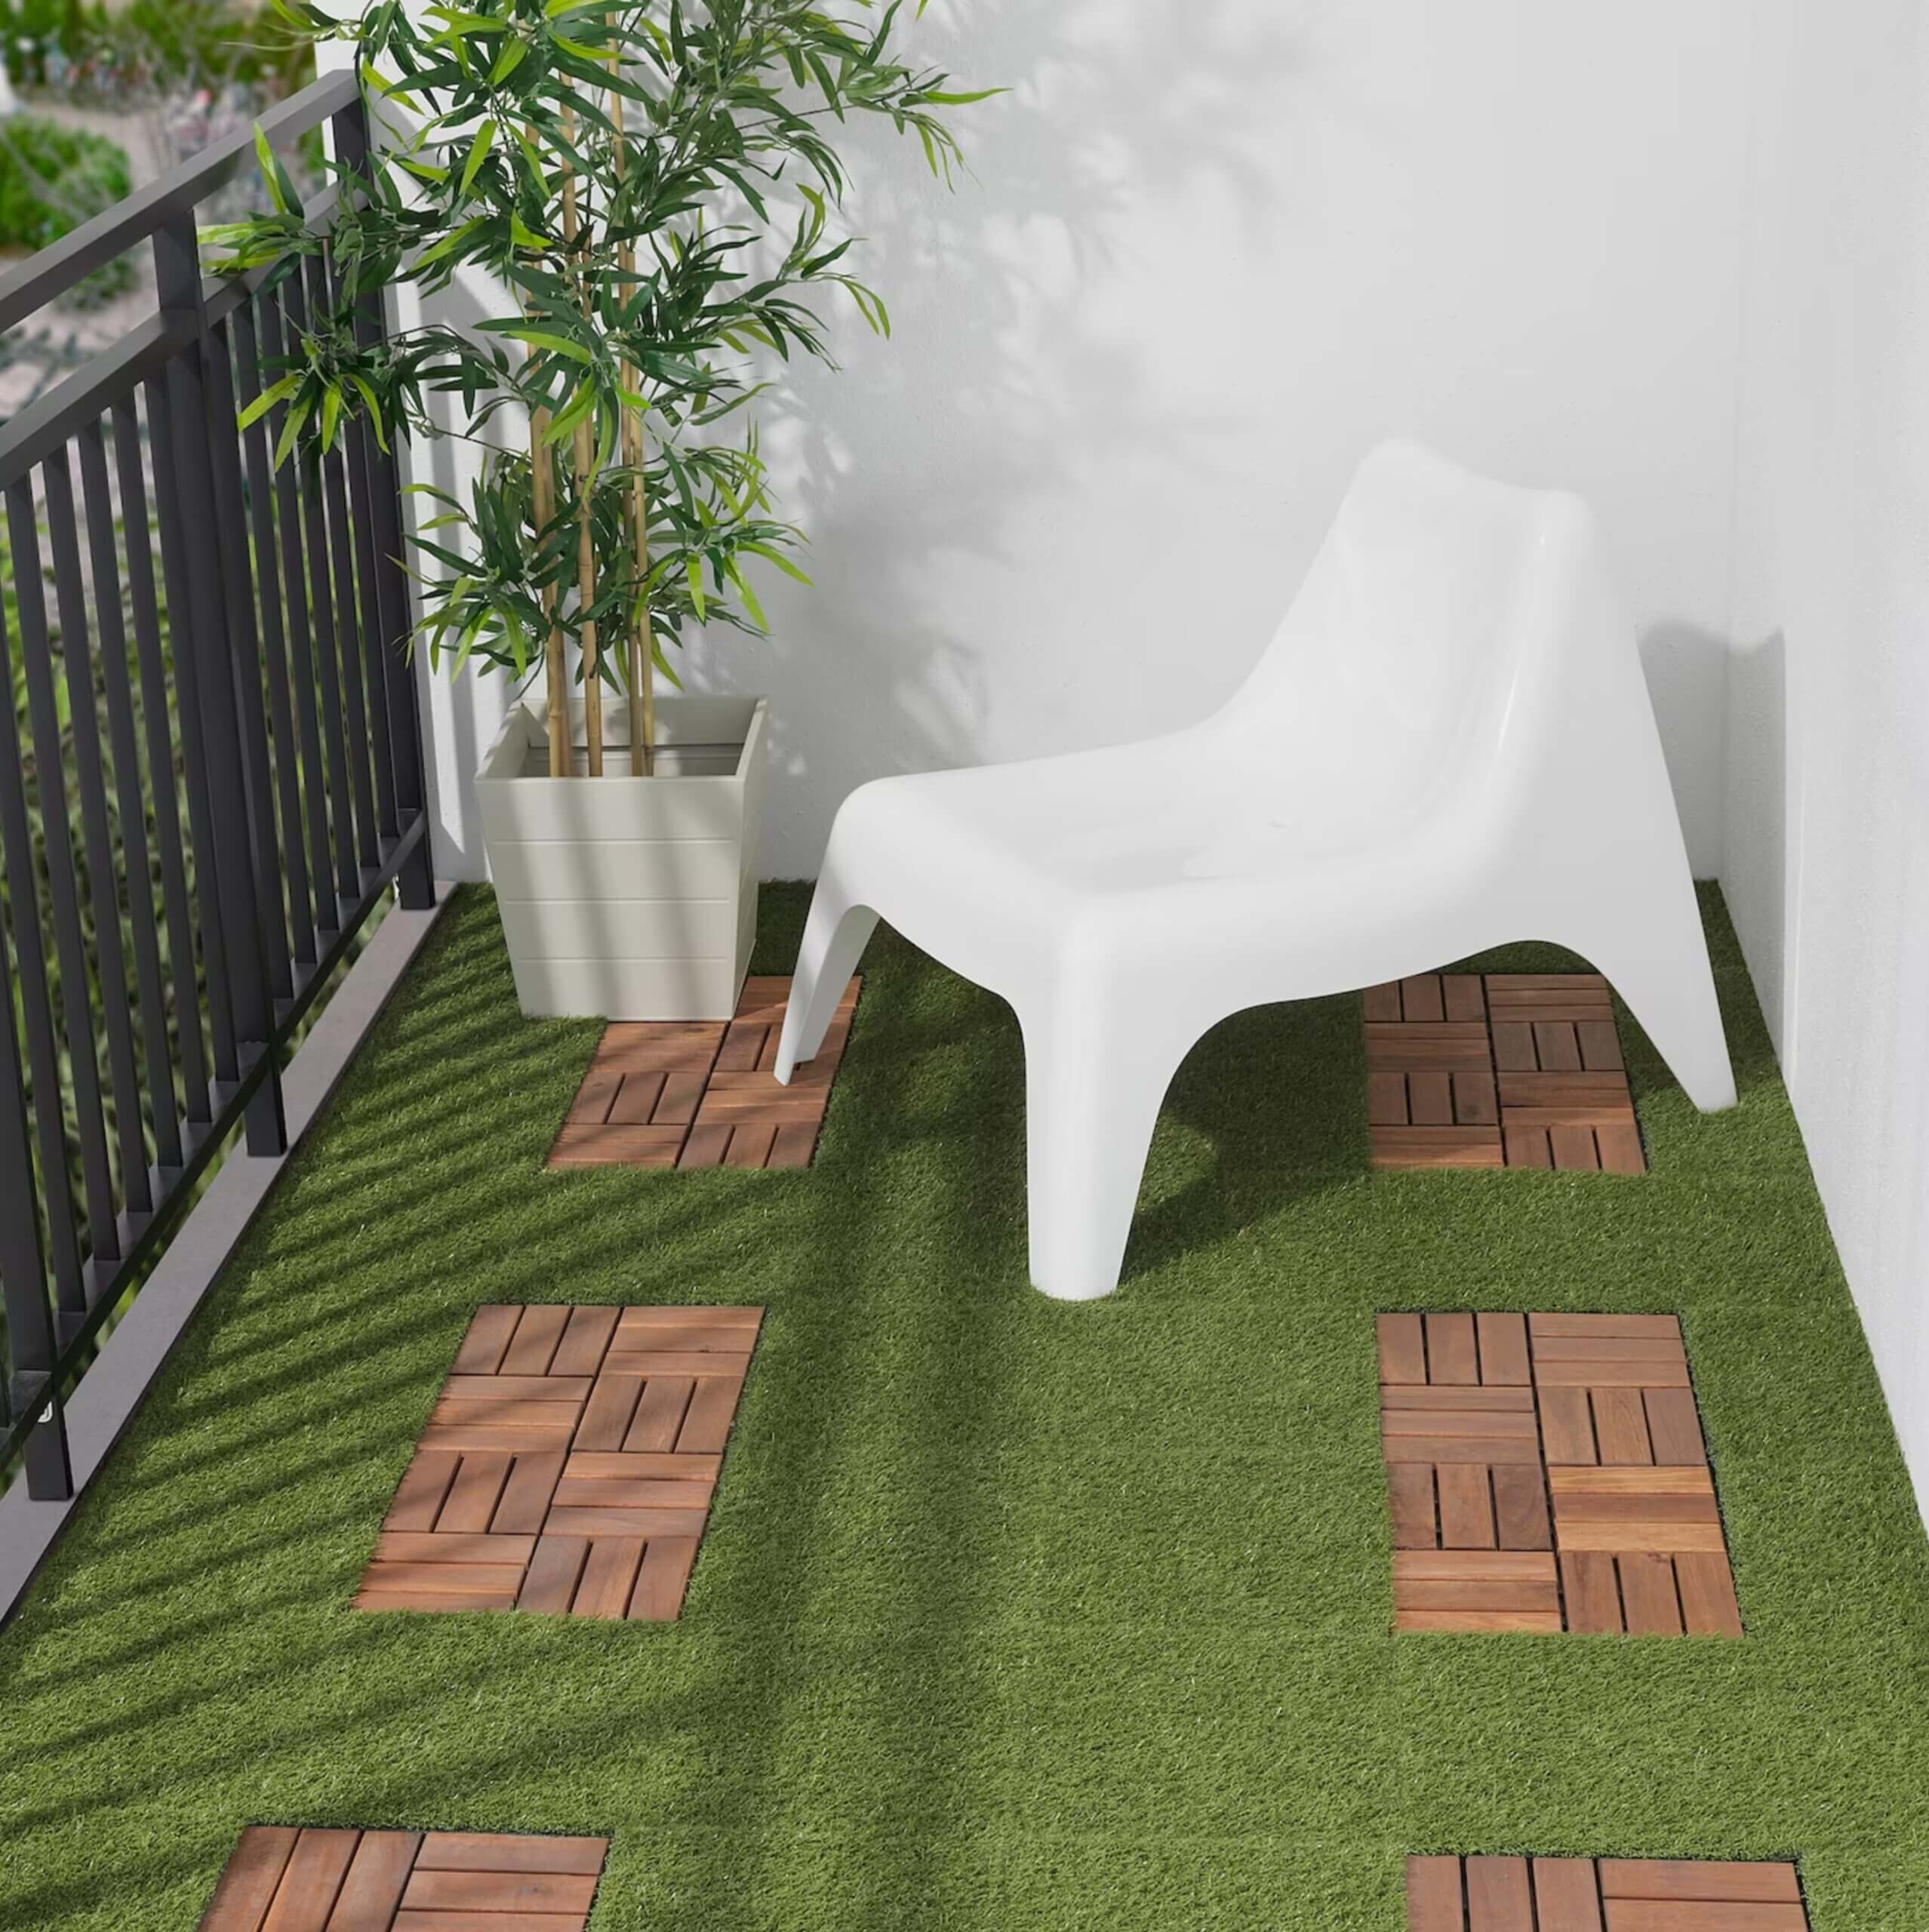
There are a ton of different colors and styles you can get – even artificial grass. They also have the IKEA Skoghall Floor Decking for a different look.
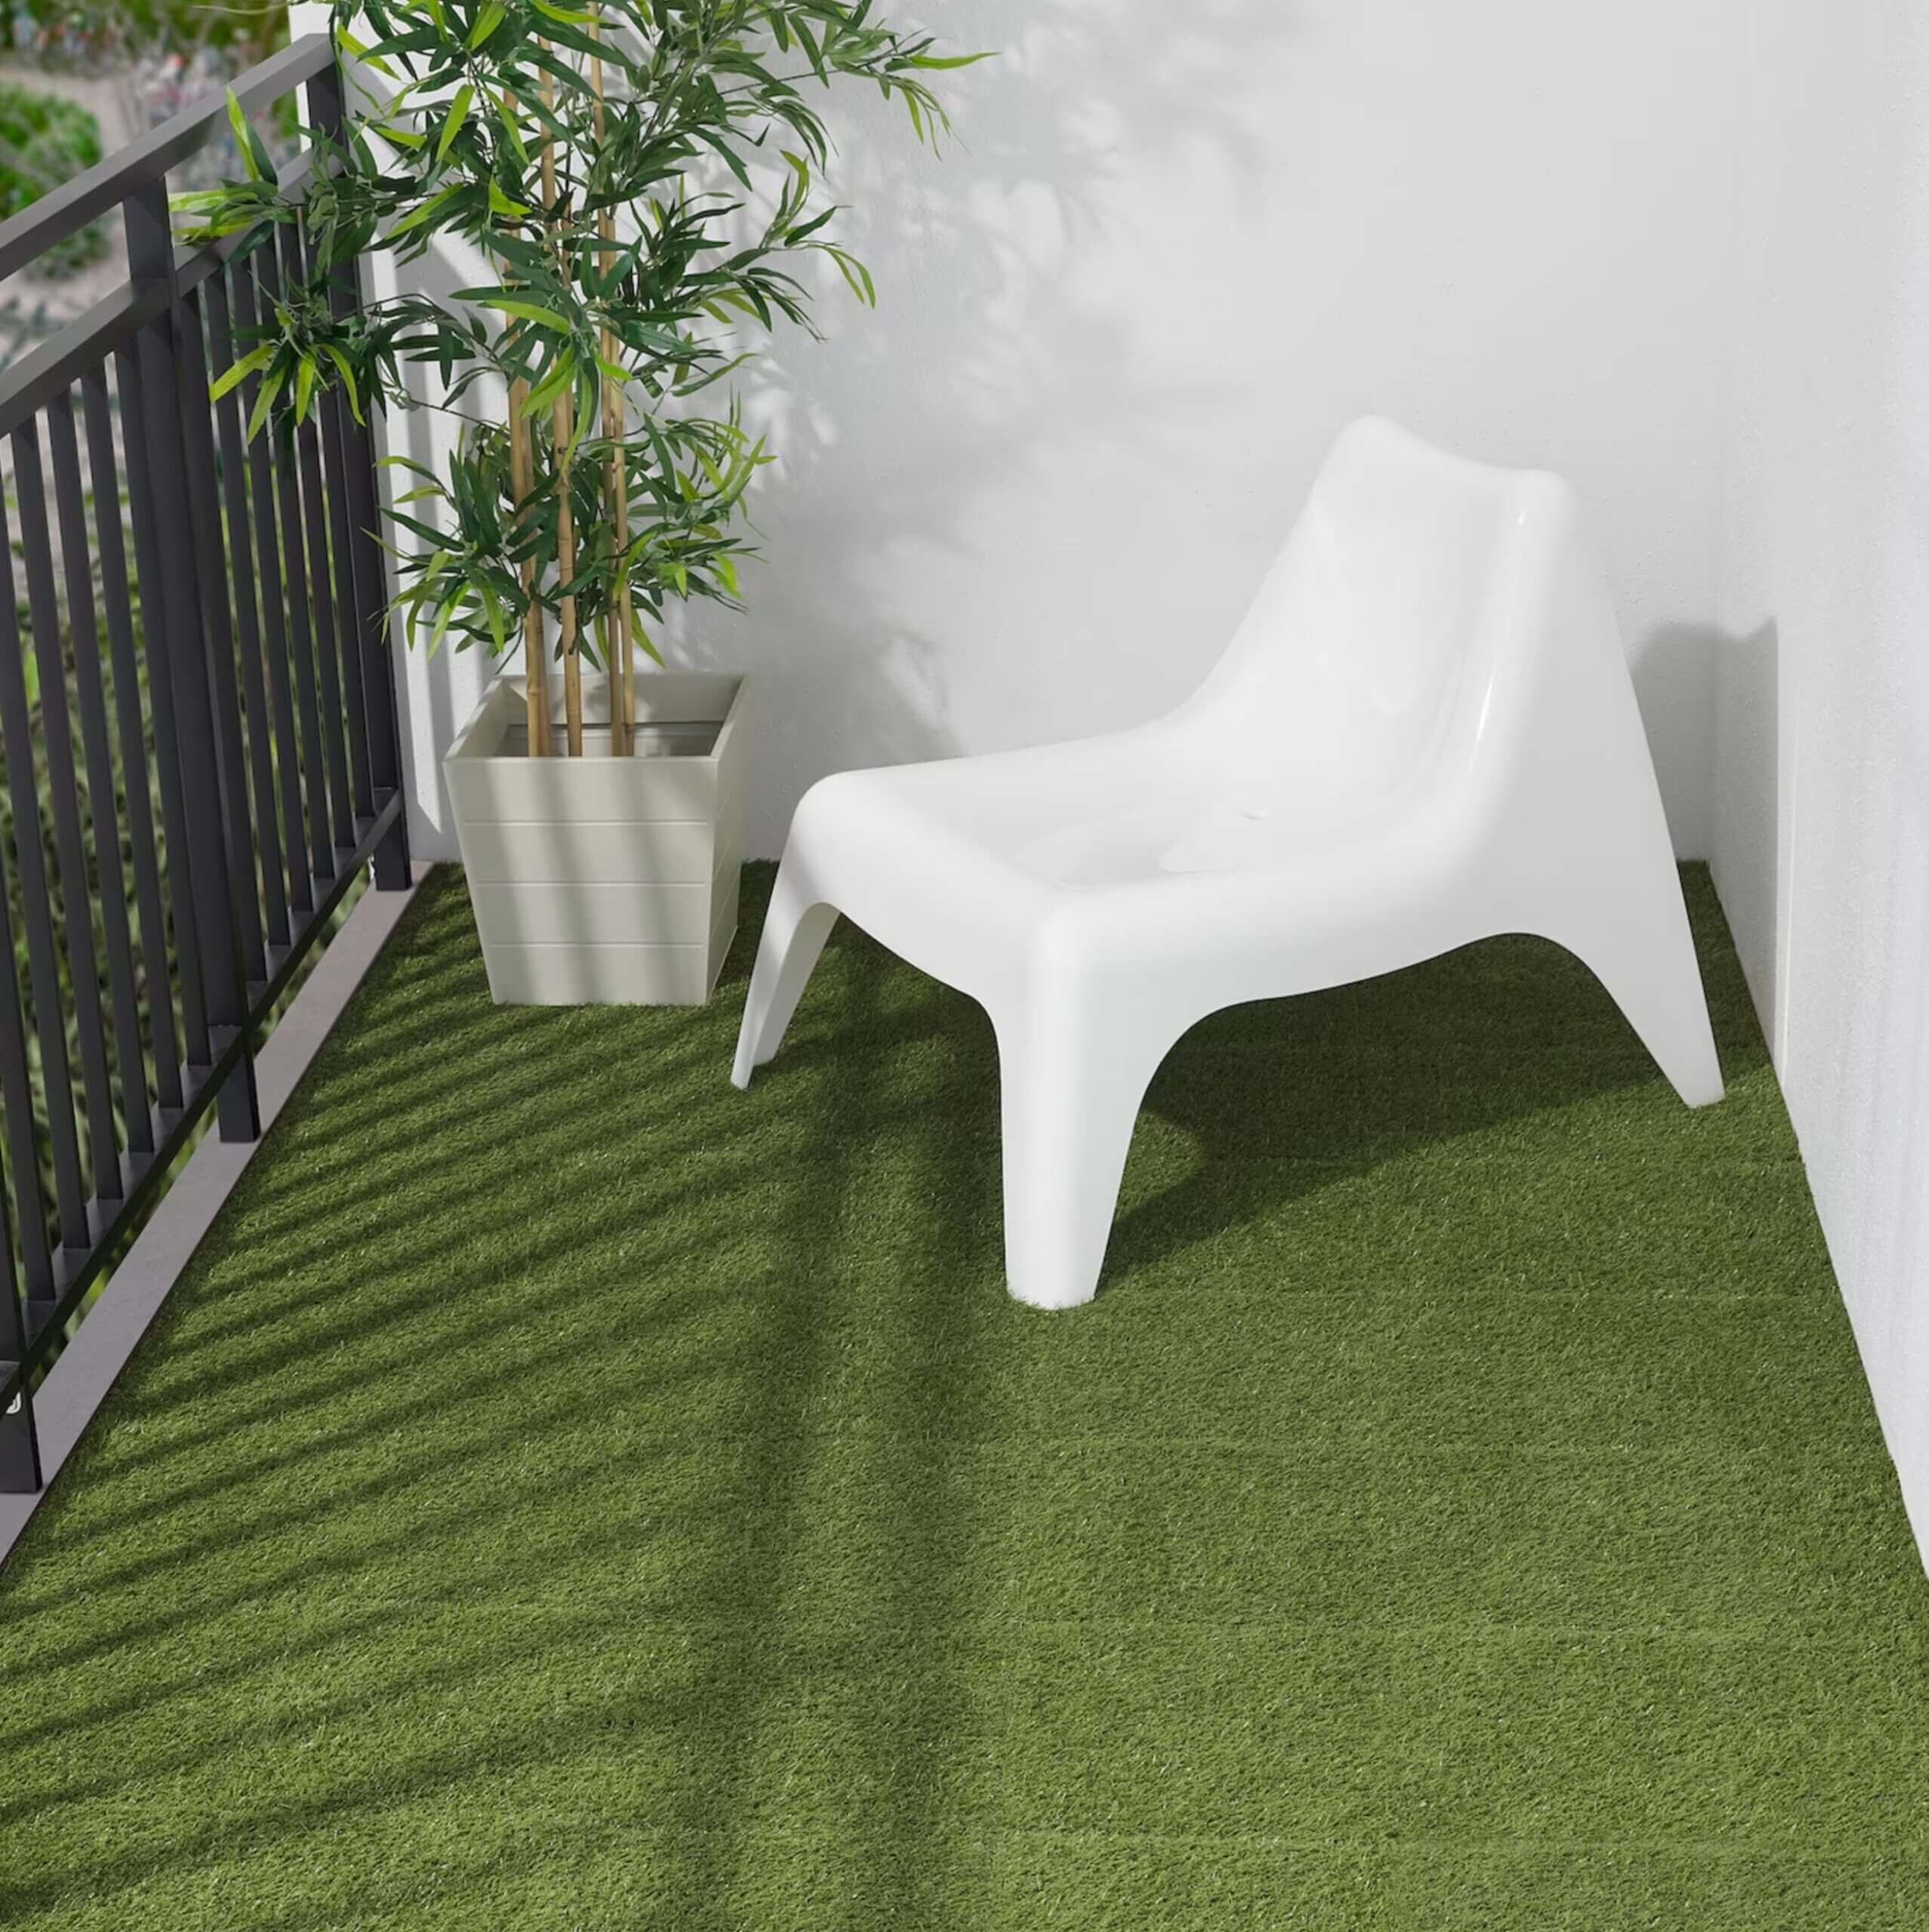
Why we picked the Grey Plastic Decking
There are a couple of reasons we picked this decking over the wooden ones. The first was simply the overall look of the tile and how it matched our patio and furniture (and check out our Outer Furniture Review for the furniture we got for our deck). The plastic ones are also easy to clean – just use a mild soapy solution to clean them – and rain water doesn’t impact them.
Wipe dry if you are concerned, but it really won’t hurt the plastic ones, like the wood tiles. Wood tiles also tend to not last as long, too – at least in our experience. You also don’t have to re-glaze the tiles, either.
We live in Northern Colorado and it can get dry and hot. We were a bit concerned about overall durability and maintenance, but after having for a couple months as our new “patio” below deck, our personal experience is that it REALLY holds up.
Just make sure to install in a way where the tile can not move around much.
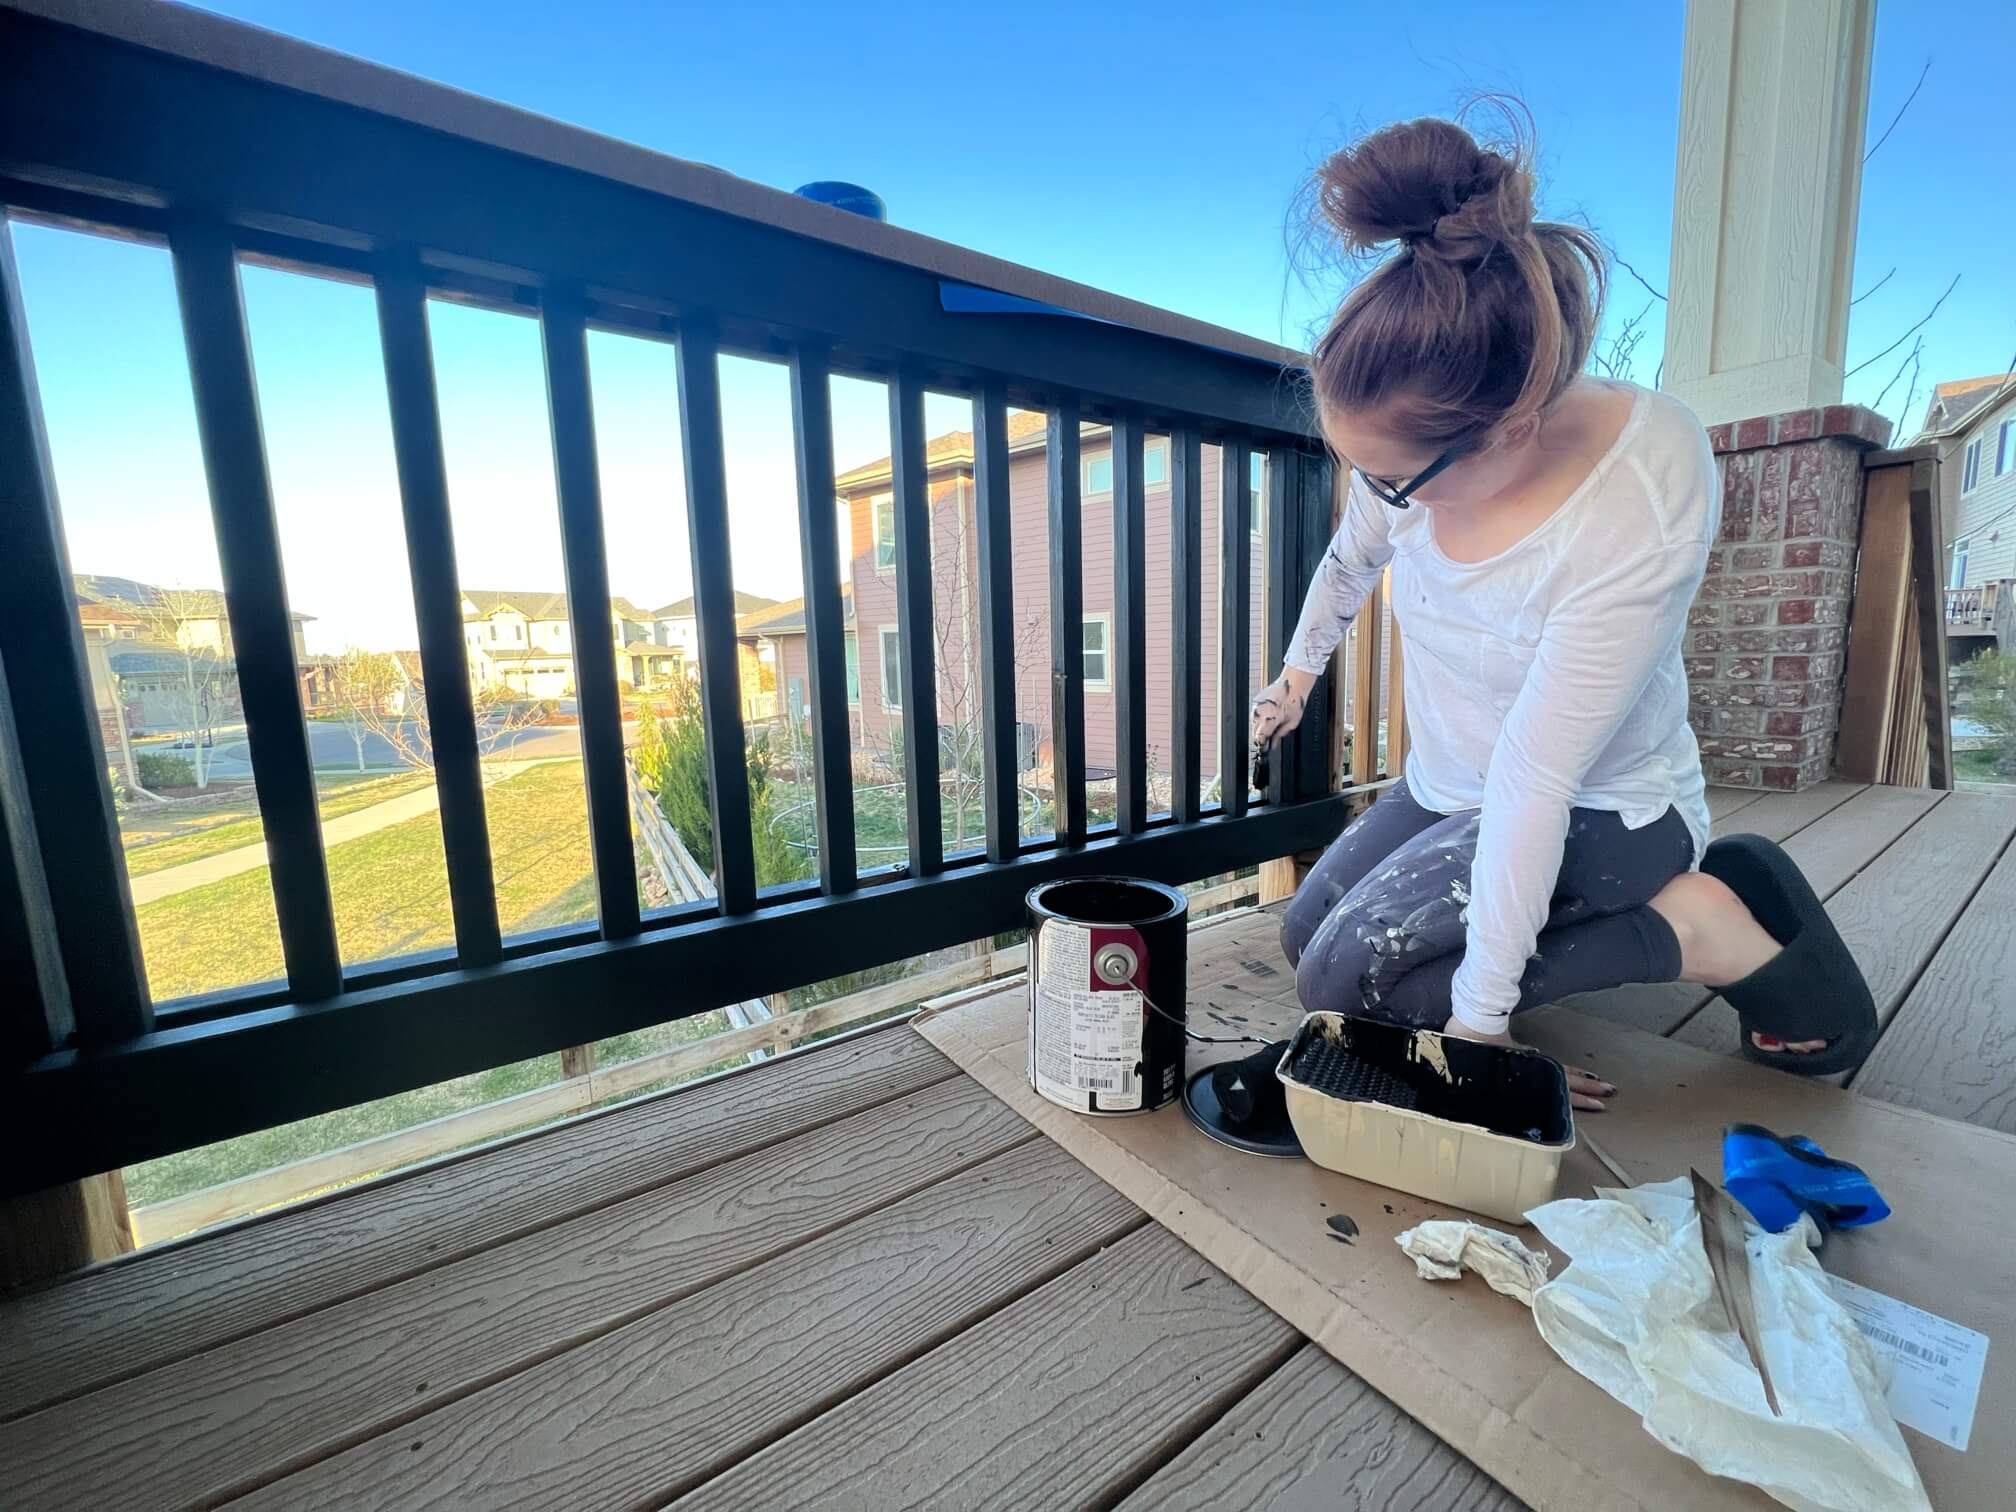
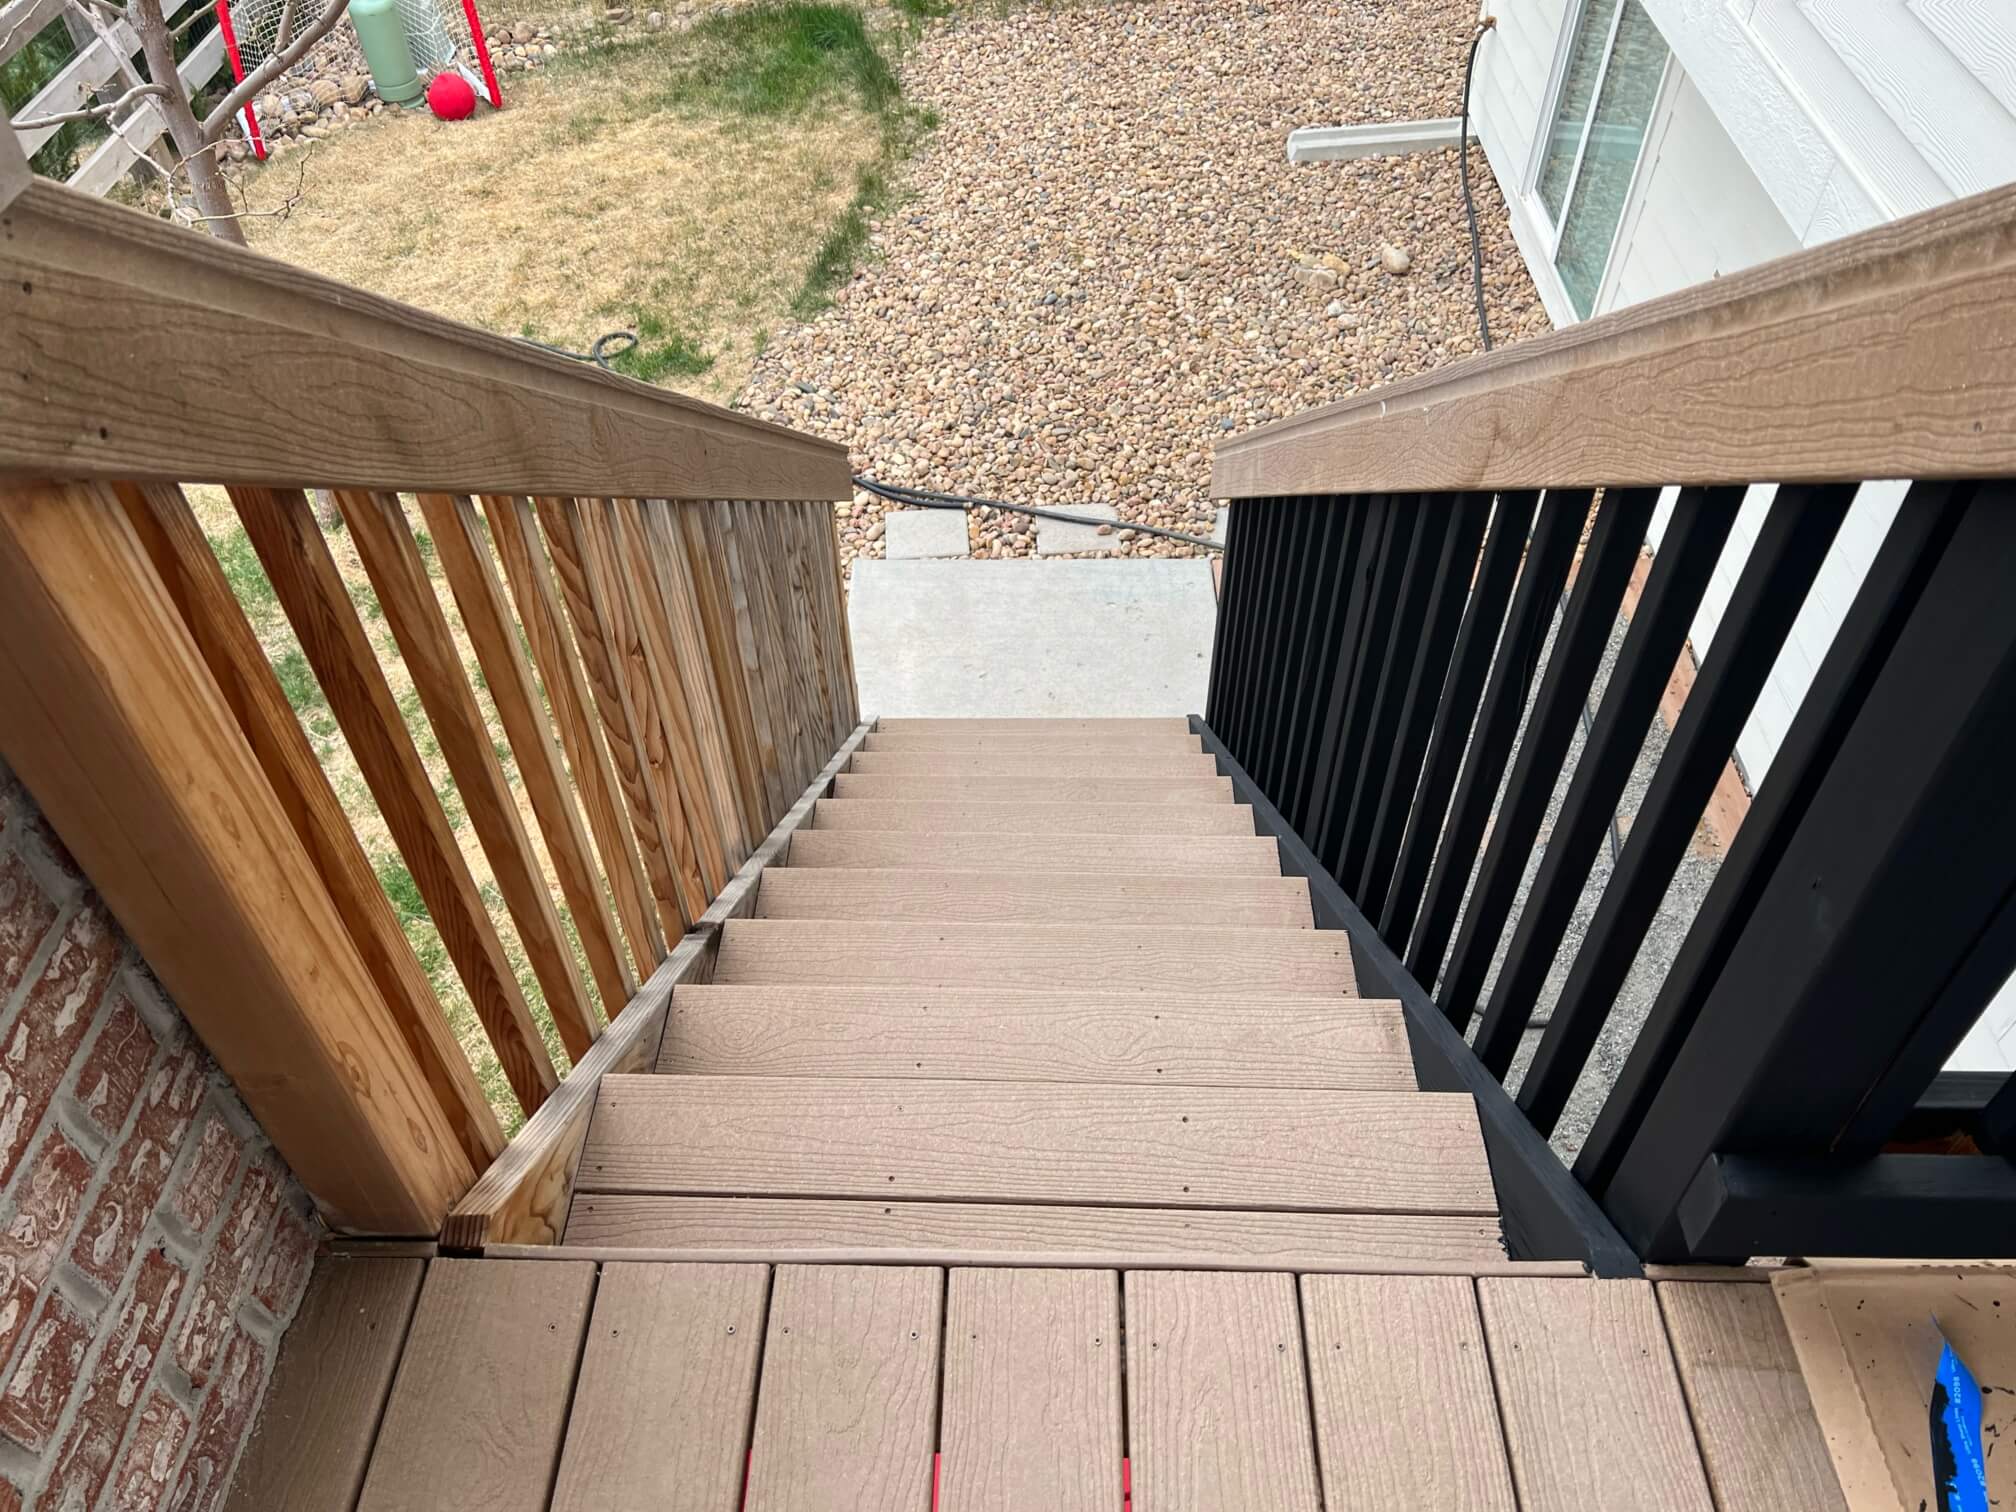
We also painted our deck spindles to match the IKEA decking, as you can see in the photo above.
IKEA Runnen decking tiles Review: The Final Verdict
Great, flexible decking that is super forgivable. It's easy to put together and looks great!
I think to decide if the IKEA Runnen decking is the right solution for your outdoor patio needs, you need to think about how long you will be using this space and what your budget is.
The IKEA Runnen decking tiles are a great budget-friendly temporary solution. I also liked that I could get the edge and corner pieces.
There was a similar decking tile at Costco in May, but I could not find edging or corner pieces that went with it and I think this really gives it a finished polished look. For us, this was a great solution.
It looks fantastic and the kids love to play on it, but I am not sure how it will hold up over the next 10-30 years.
Customer Experiences and Feedback
Customers have generally praised IKEA Runnen Decking for its affordability and ease of use. Many appreciate the ability to customize the layout easily with different colors and styles.
Some users, however, have noted that while it’s sturdy, the plastic doesn’t have the same premium feel as wood or high-end composites. Feedback suggests complementing Runnen with IKEA’s edge pieces for the best results.
Positive reviews often highlight the fun family projects these tiles create. Parents enjoy engaging kids in helping arrange or rearrange patterns.
It also provides renters with a non-permanent solution to improve outdoor spaces without the need for landlord approval. Users report that it adds value and enjoyment to their outdoor activities, making their investment feel worthwhile.
Ready to Transform Your Outdoor Space?
IKEA Runnen Decking is one of the easiest budget-friendly upgrades you can make to a dead yard or patio. If you’re ready to pull the trigger, here’s the link:
Great, flexible decking that is super forgivable. It's easy to put together and looks great!

Fantastic project and write up! Thank you.
We have been strongly considering Runnen tiles for our splintery deck (we rent), as it’s the only outdoor space our kids (under 5) have to play.
Do you think landscape cloth should be used over wood to cut down on noise? That wouldn’t have occurred to me until I read it here.
We live near water and it gets quite windy sometimes. Do you think screwing into the decking along the edges is enough or is it worth doing that in the middle / every x feet or so?
Thanks and again, congrats!
Thank you! Glad you enjoyed it.
That would be a great option, especially with littles. I think you could do the edges and maybe a couple in the middle. You can always add more if you need to.